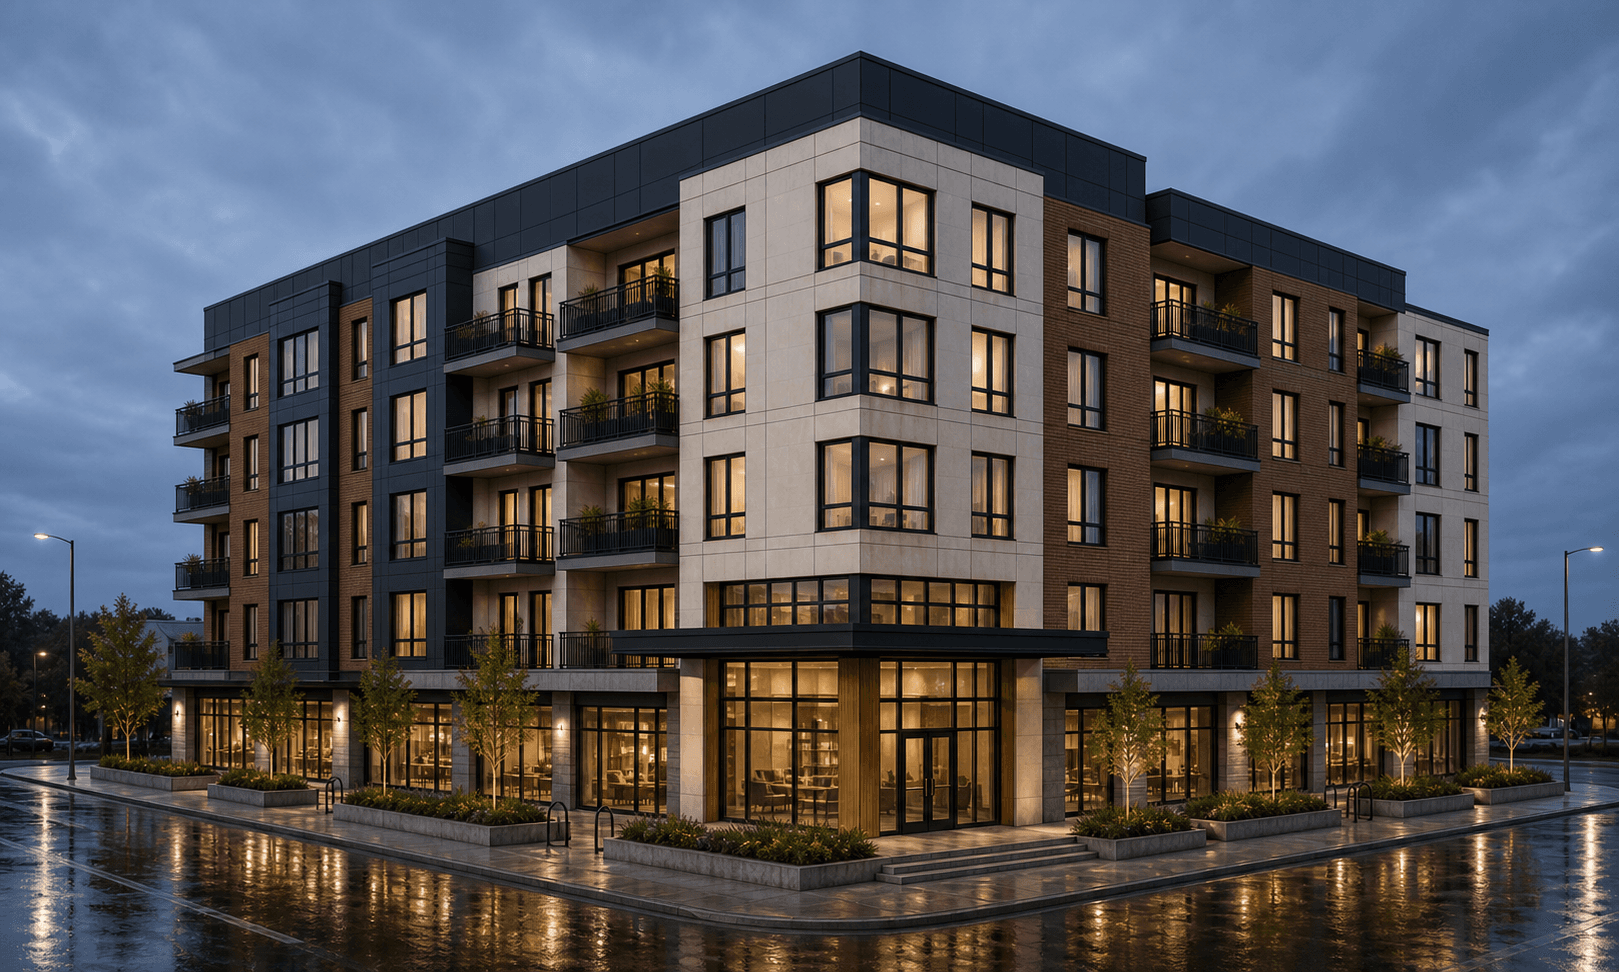
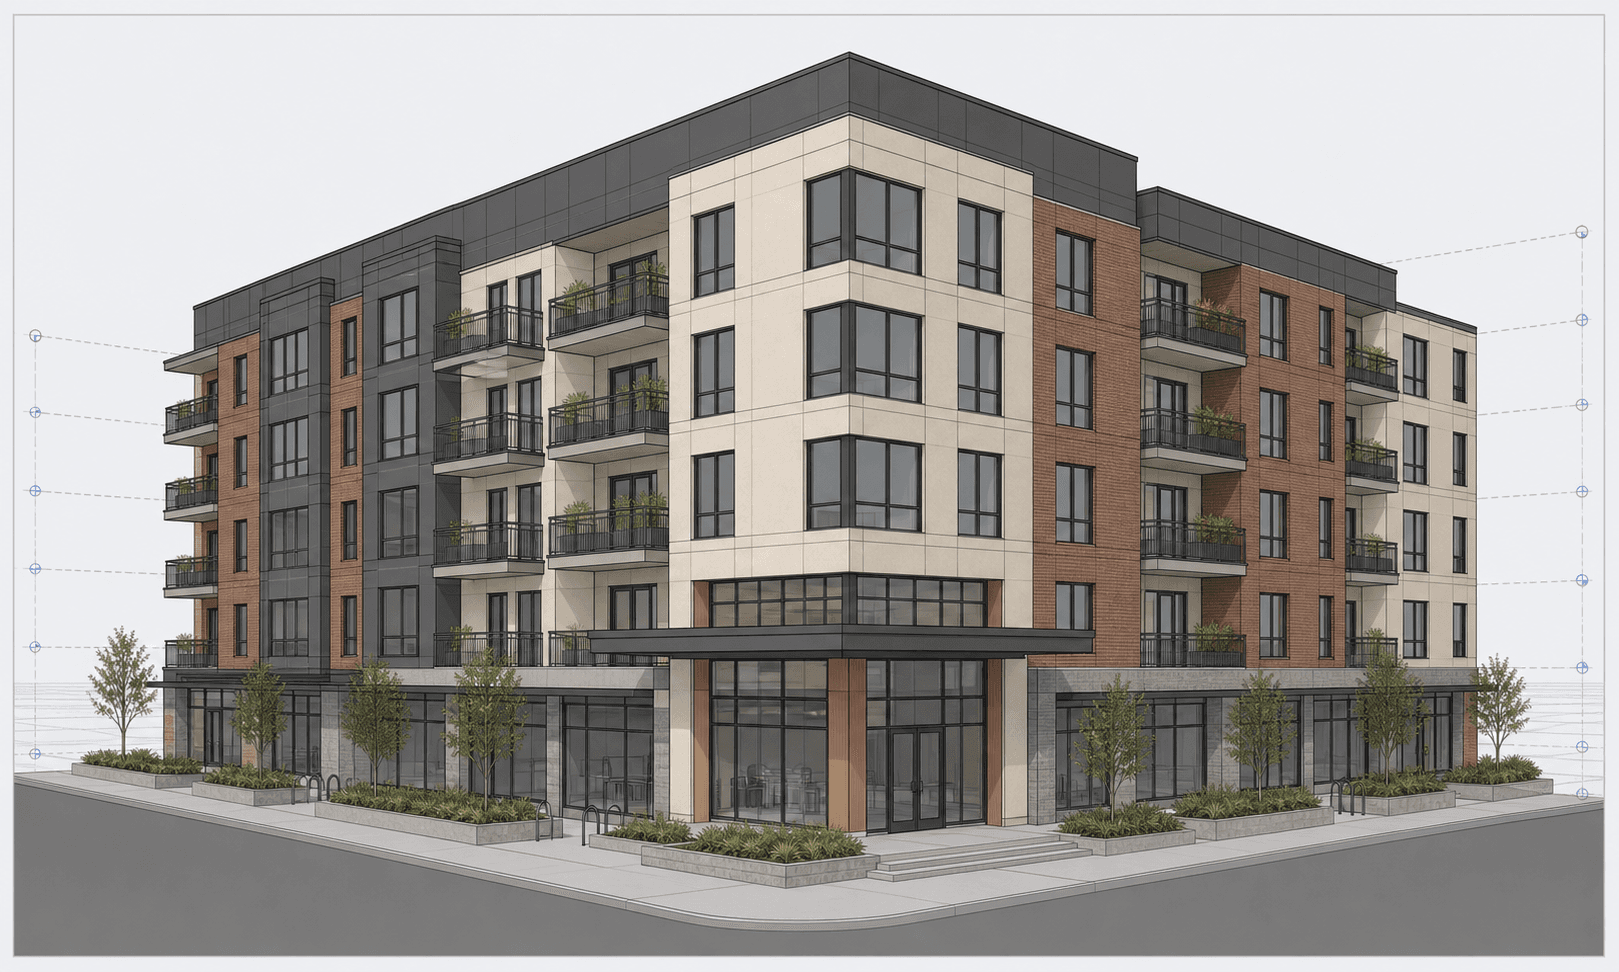
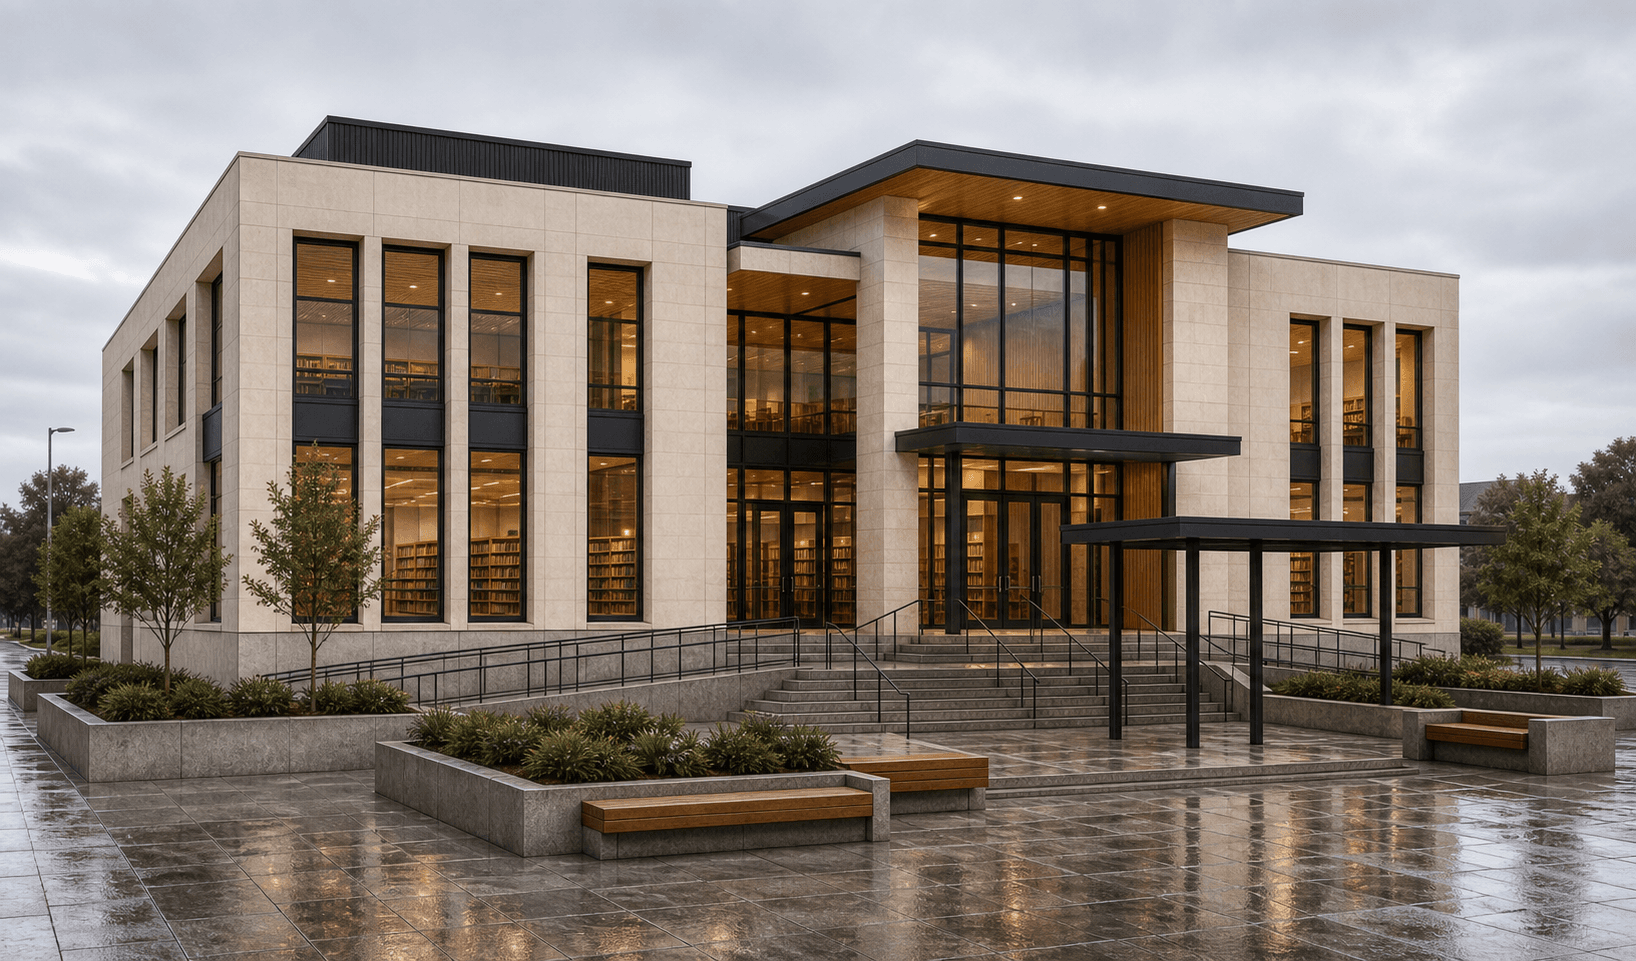
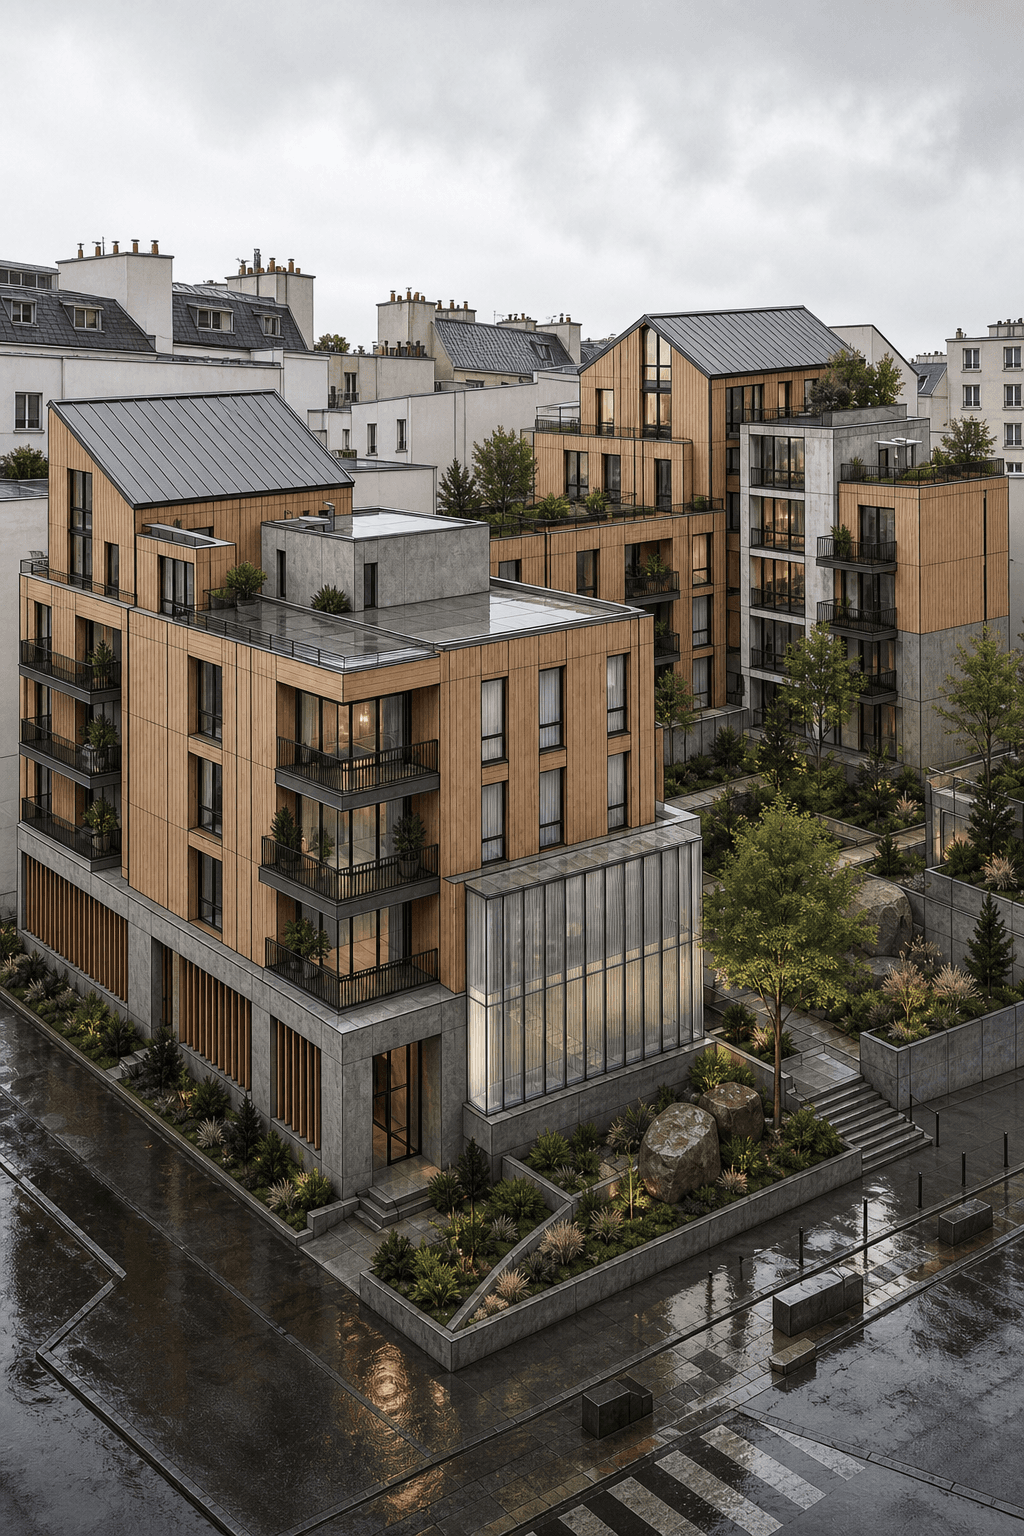
Workflow
How to export a Revit view and upload it to Rendervi
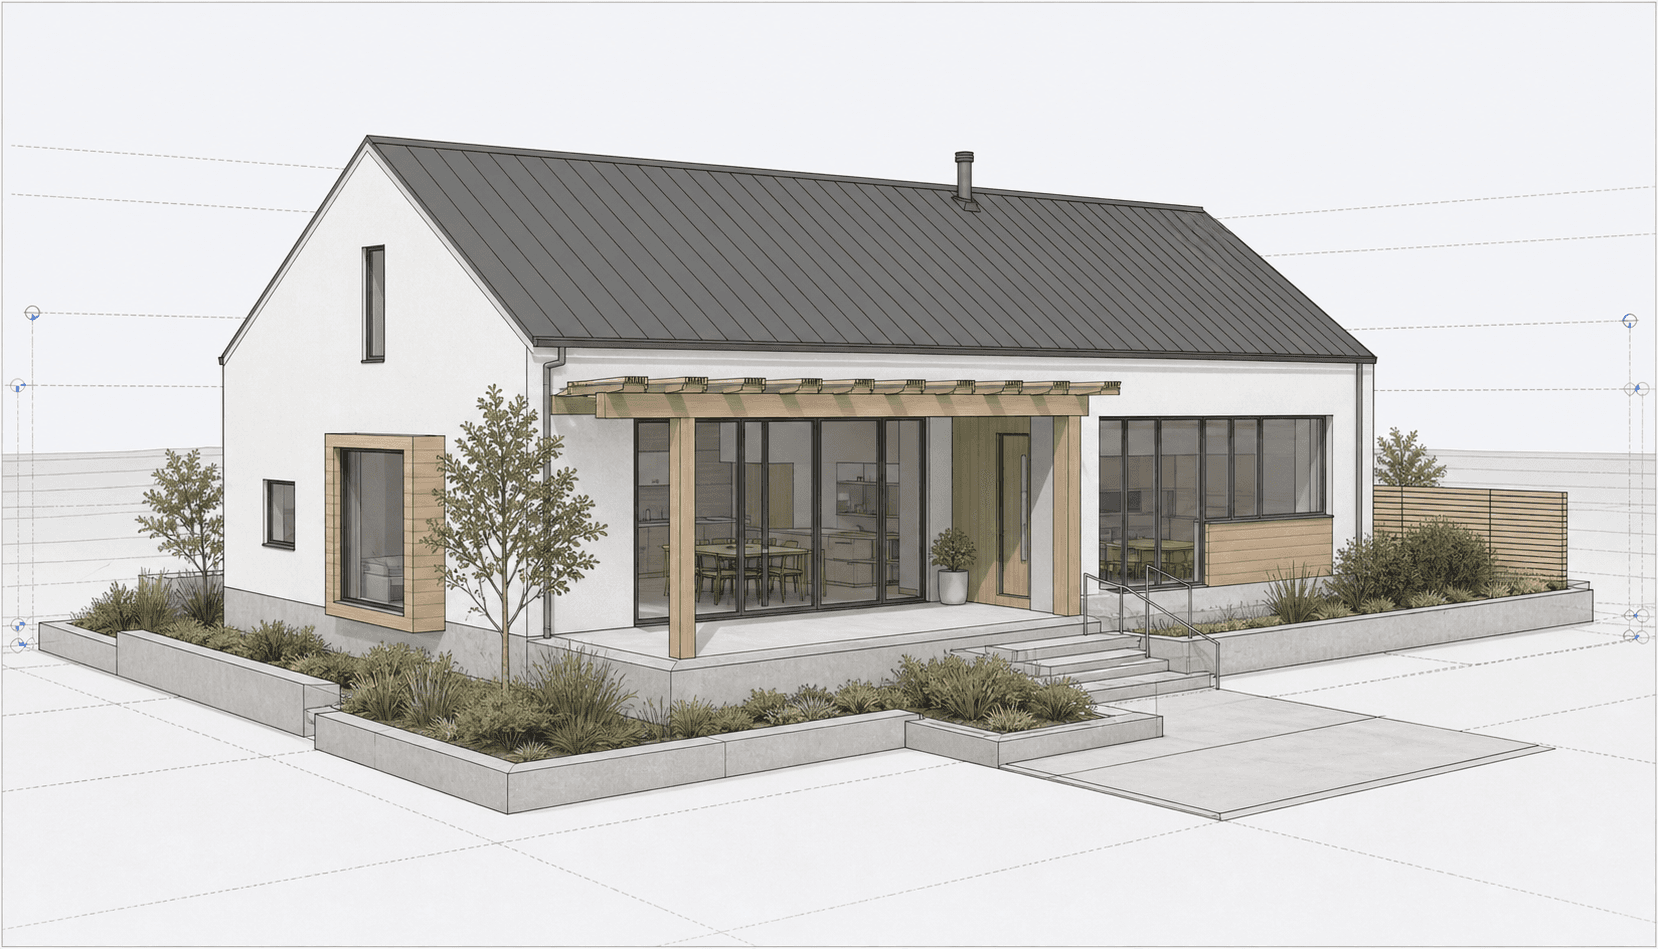
Use Revit's image export for the cleanest source, or take a screenshot for a quick design test. Rendervi works from the image, so no Revit plugin or model upload is required.
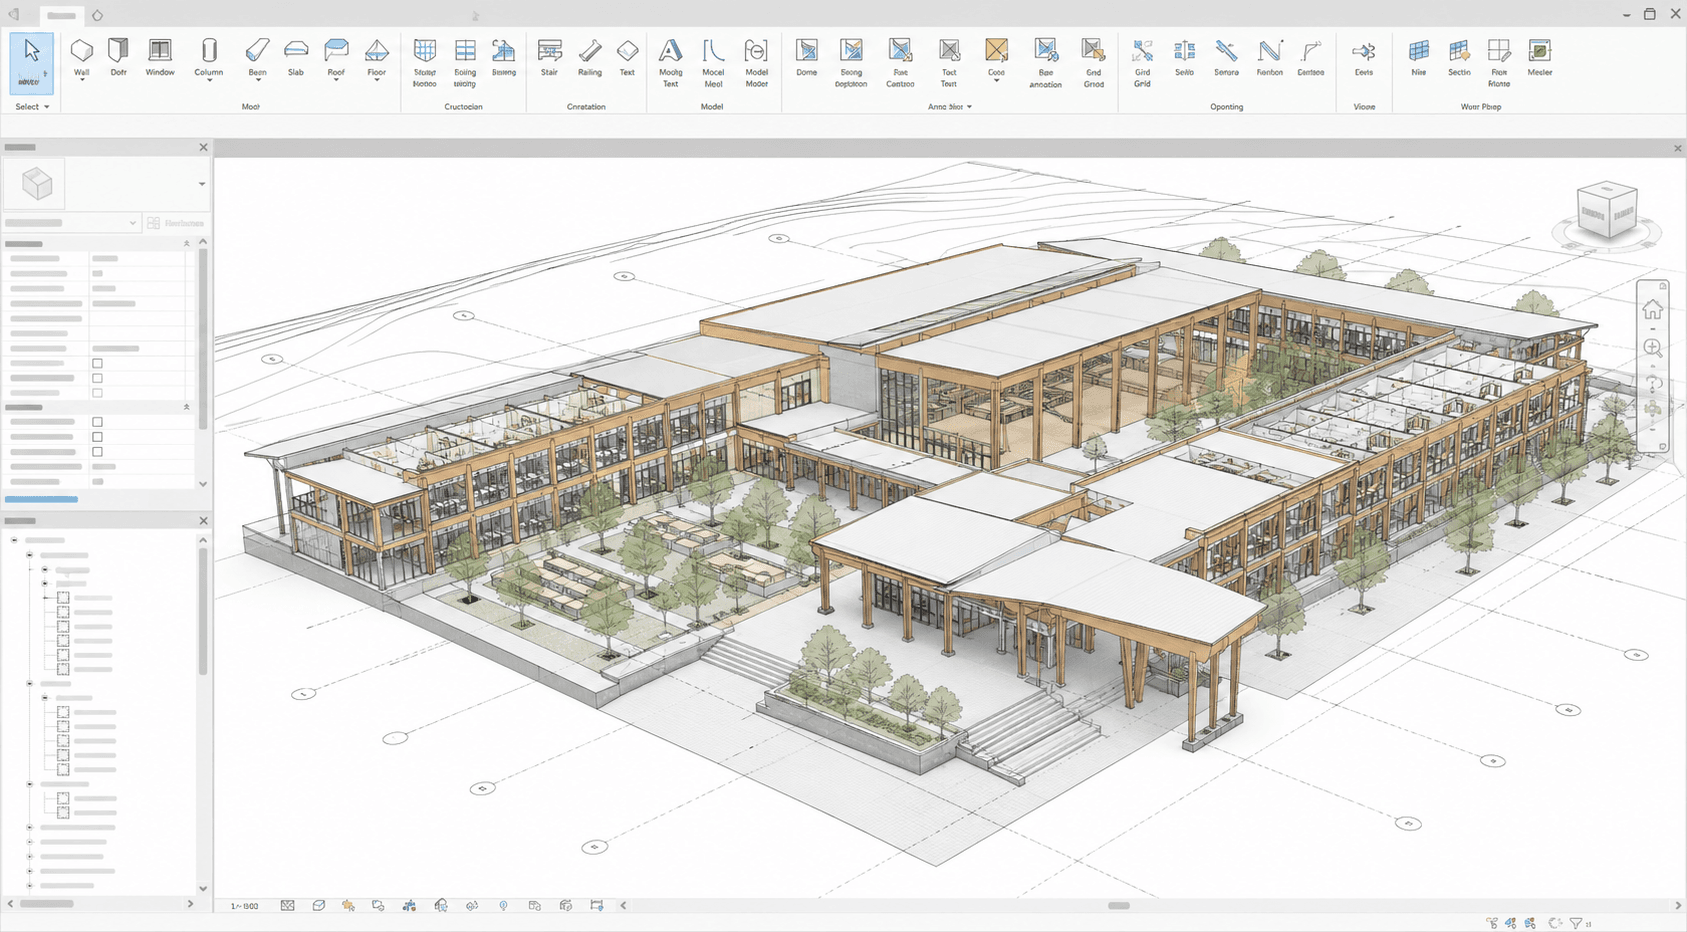
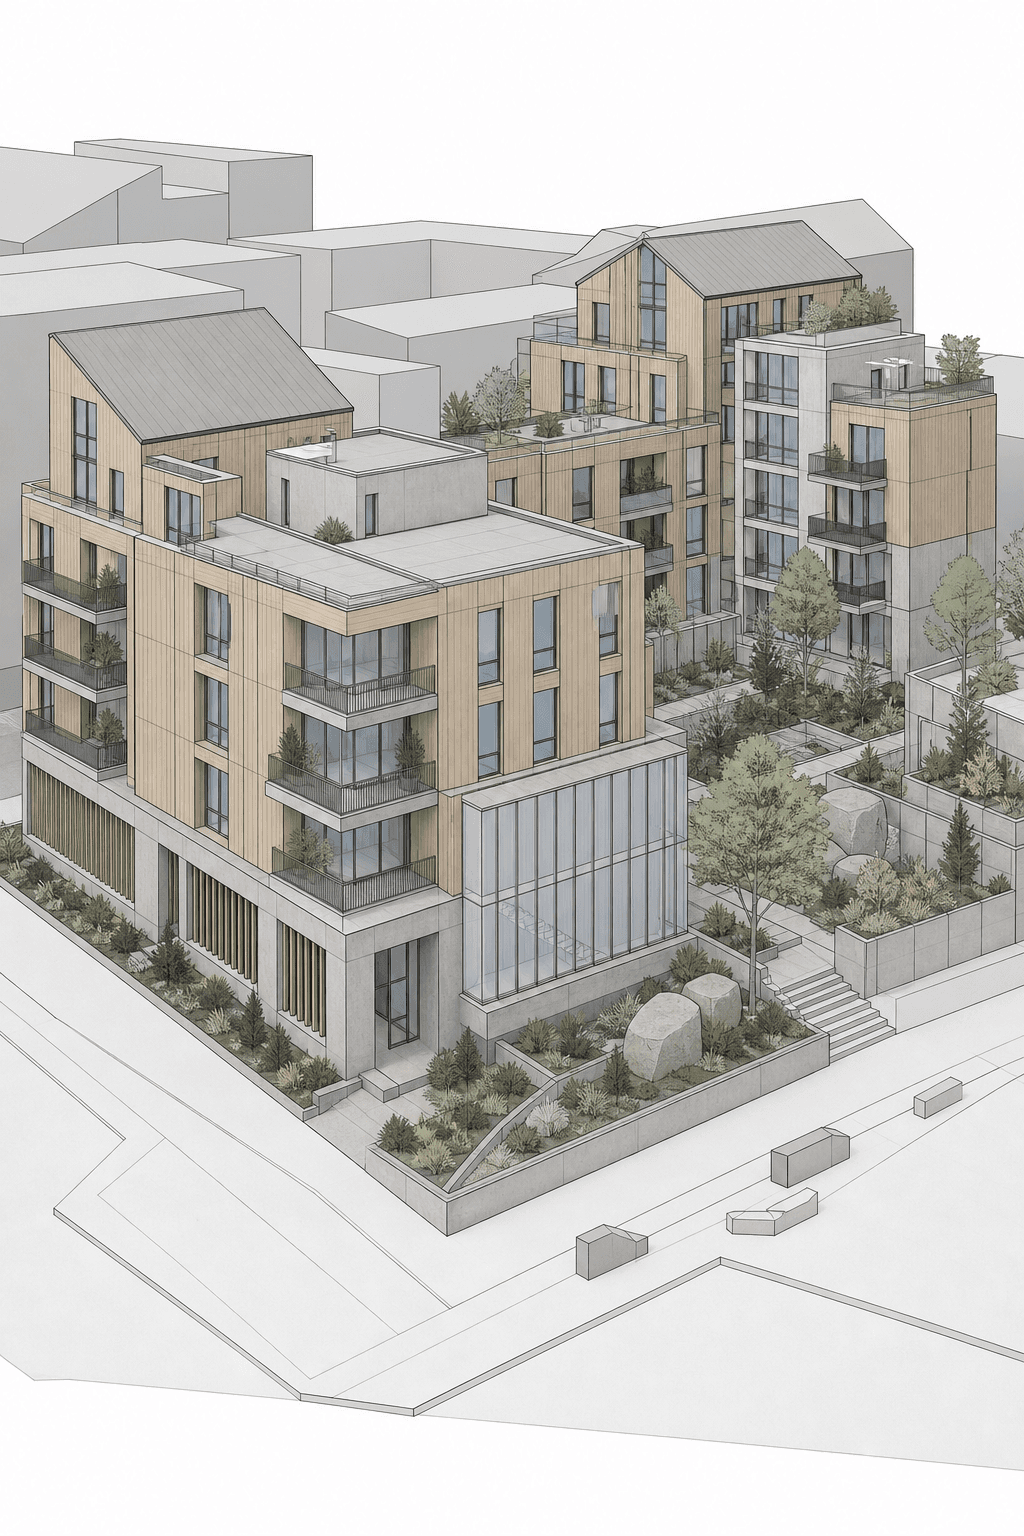
Prepare a clean Revit 3D view
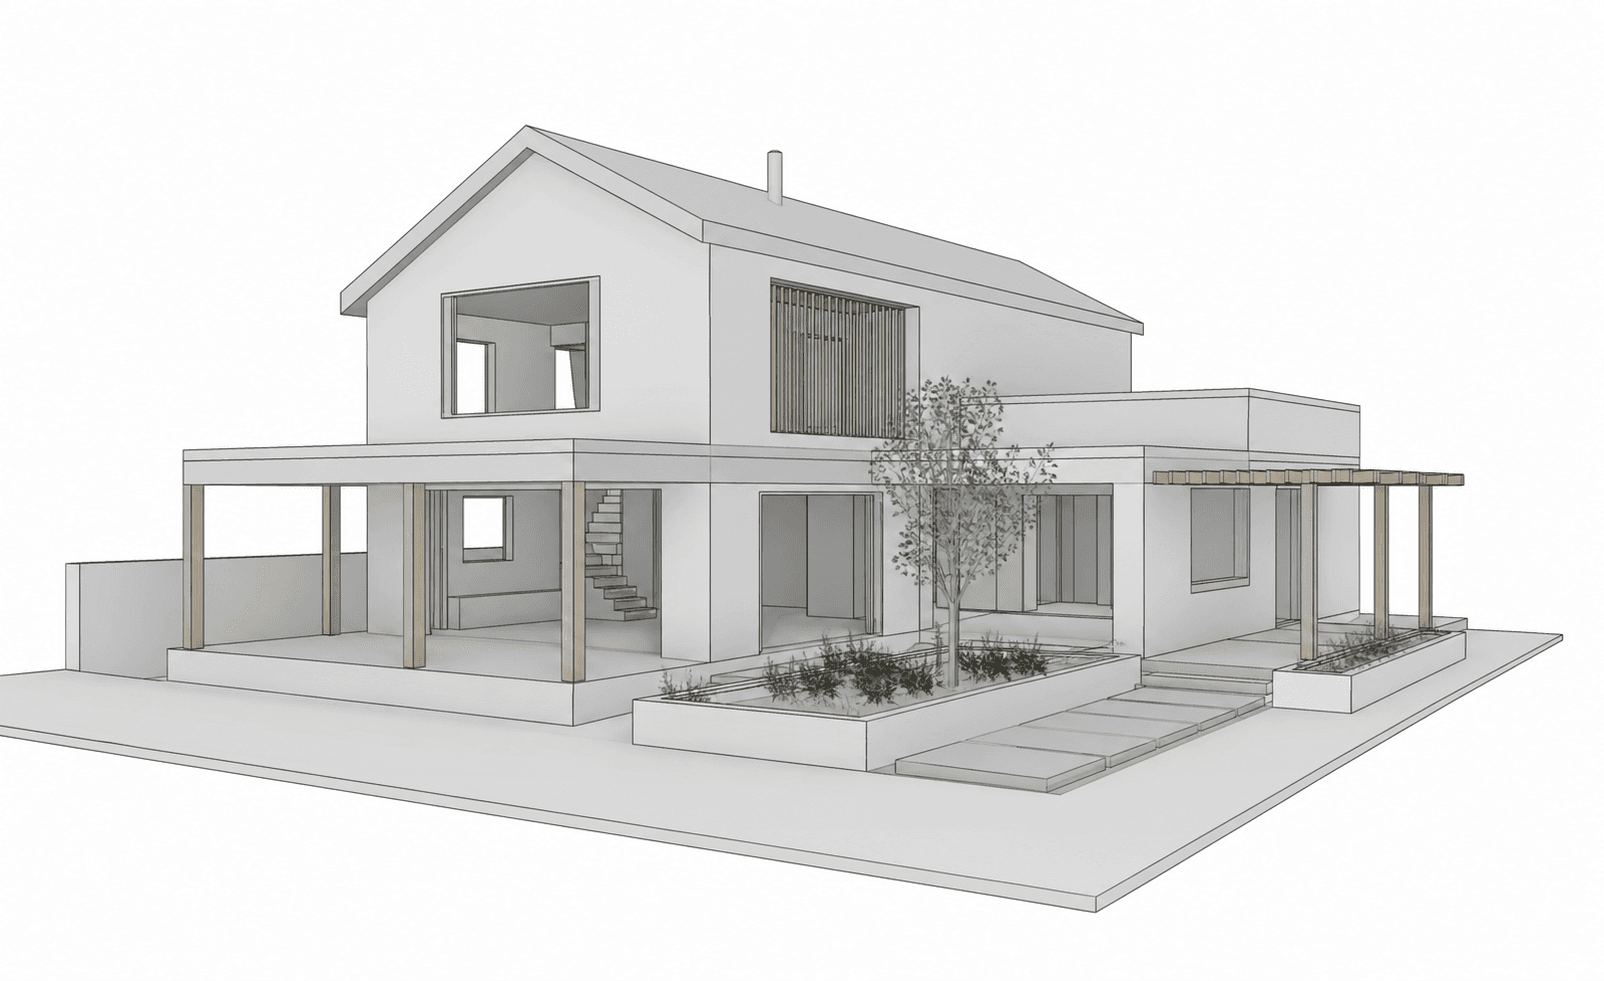
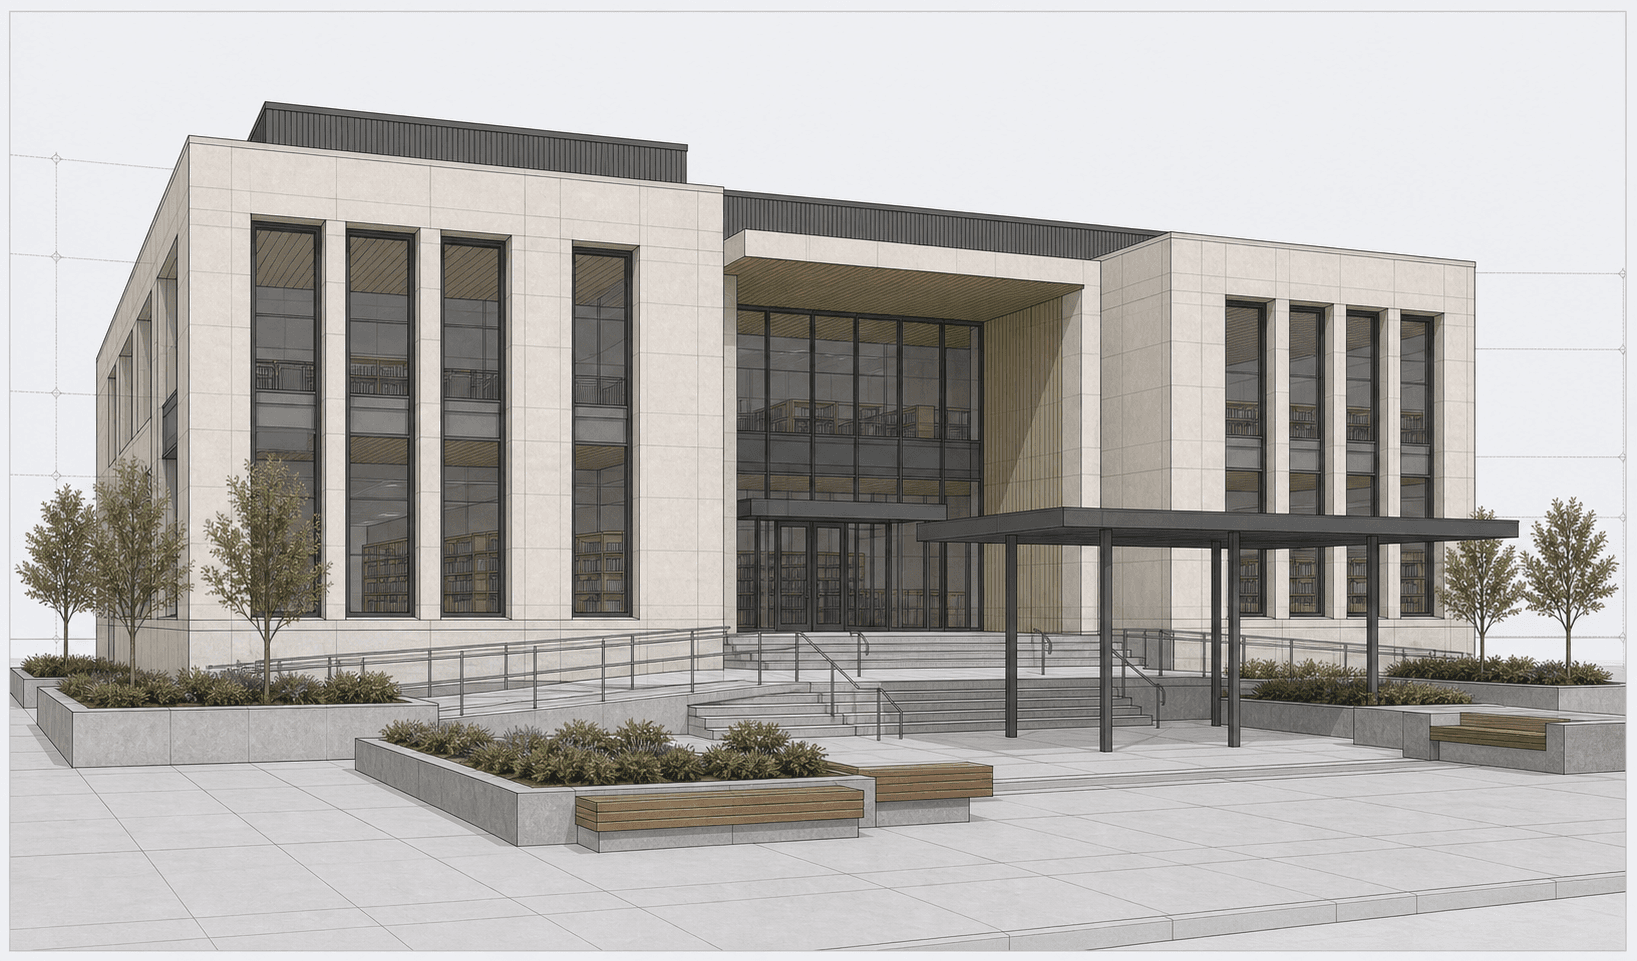
Open the perspective or orthographic 3D view you want to render. Set the crop and camera first, use a clear visual style, and hide selections, levels, grids, section boxes, or annotations that should not appear in the final image.
Export the image or take a screenshot
For the cleanest file, go to File > Export > Images and Animations > Image. Export the current window or visible portion as PNG or JPEG at a useful pixel size. For a quick test, maximize the viewport, hide interface overlays, and take a full-resolution screenshot.
Upload the Revit image to Rendervi
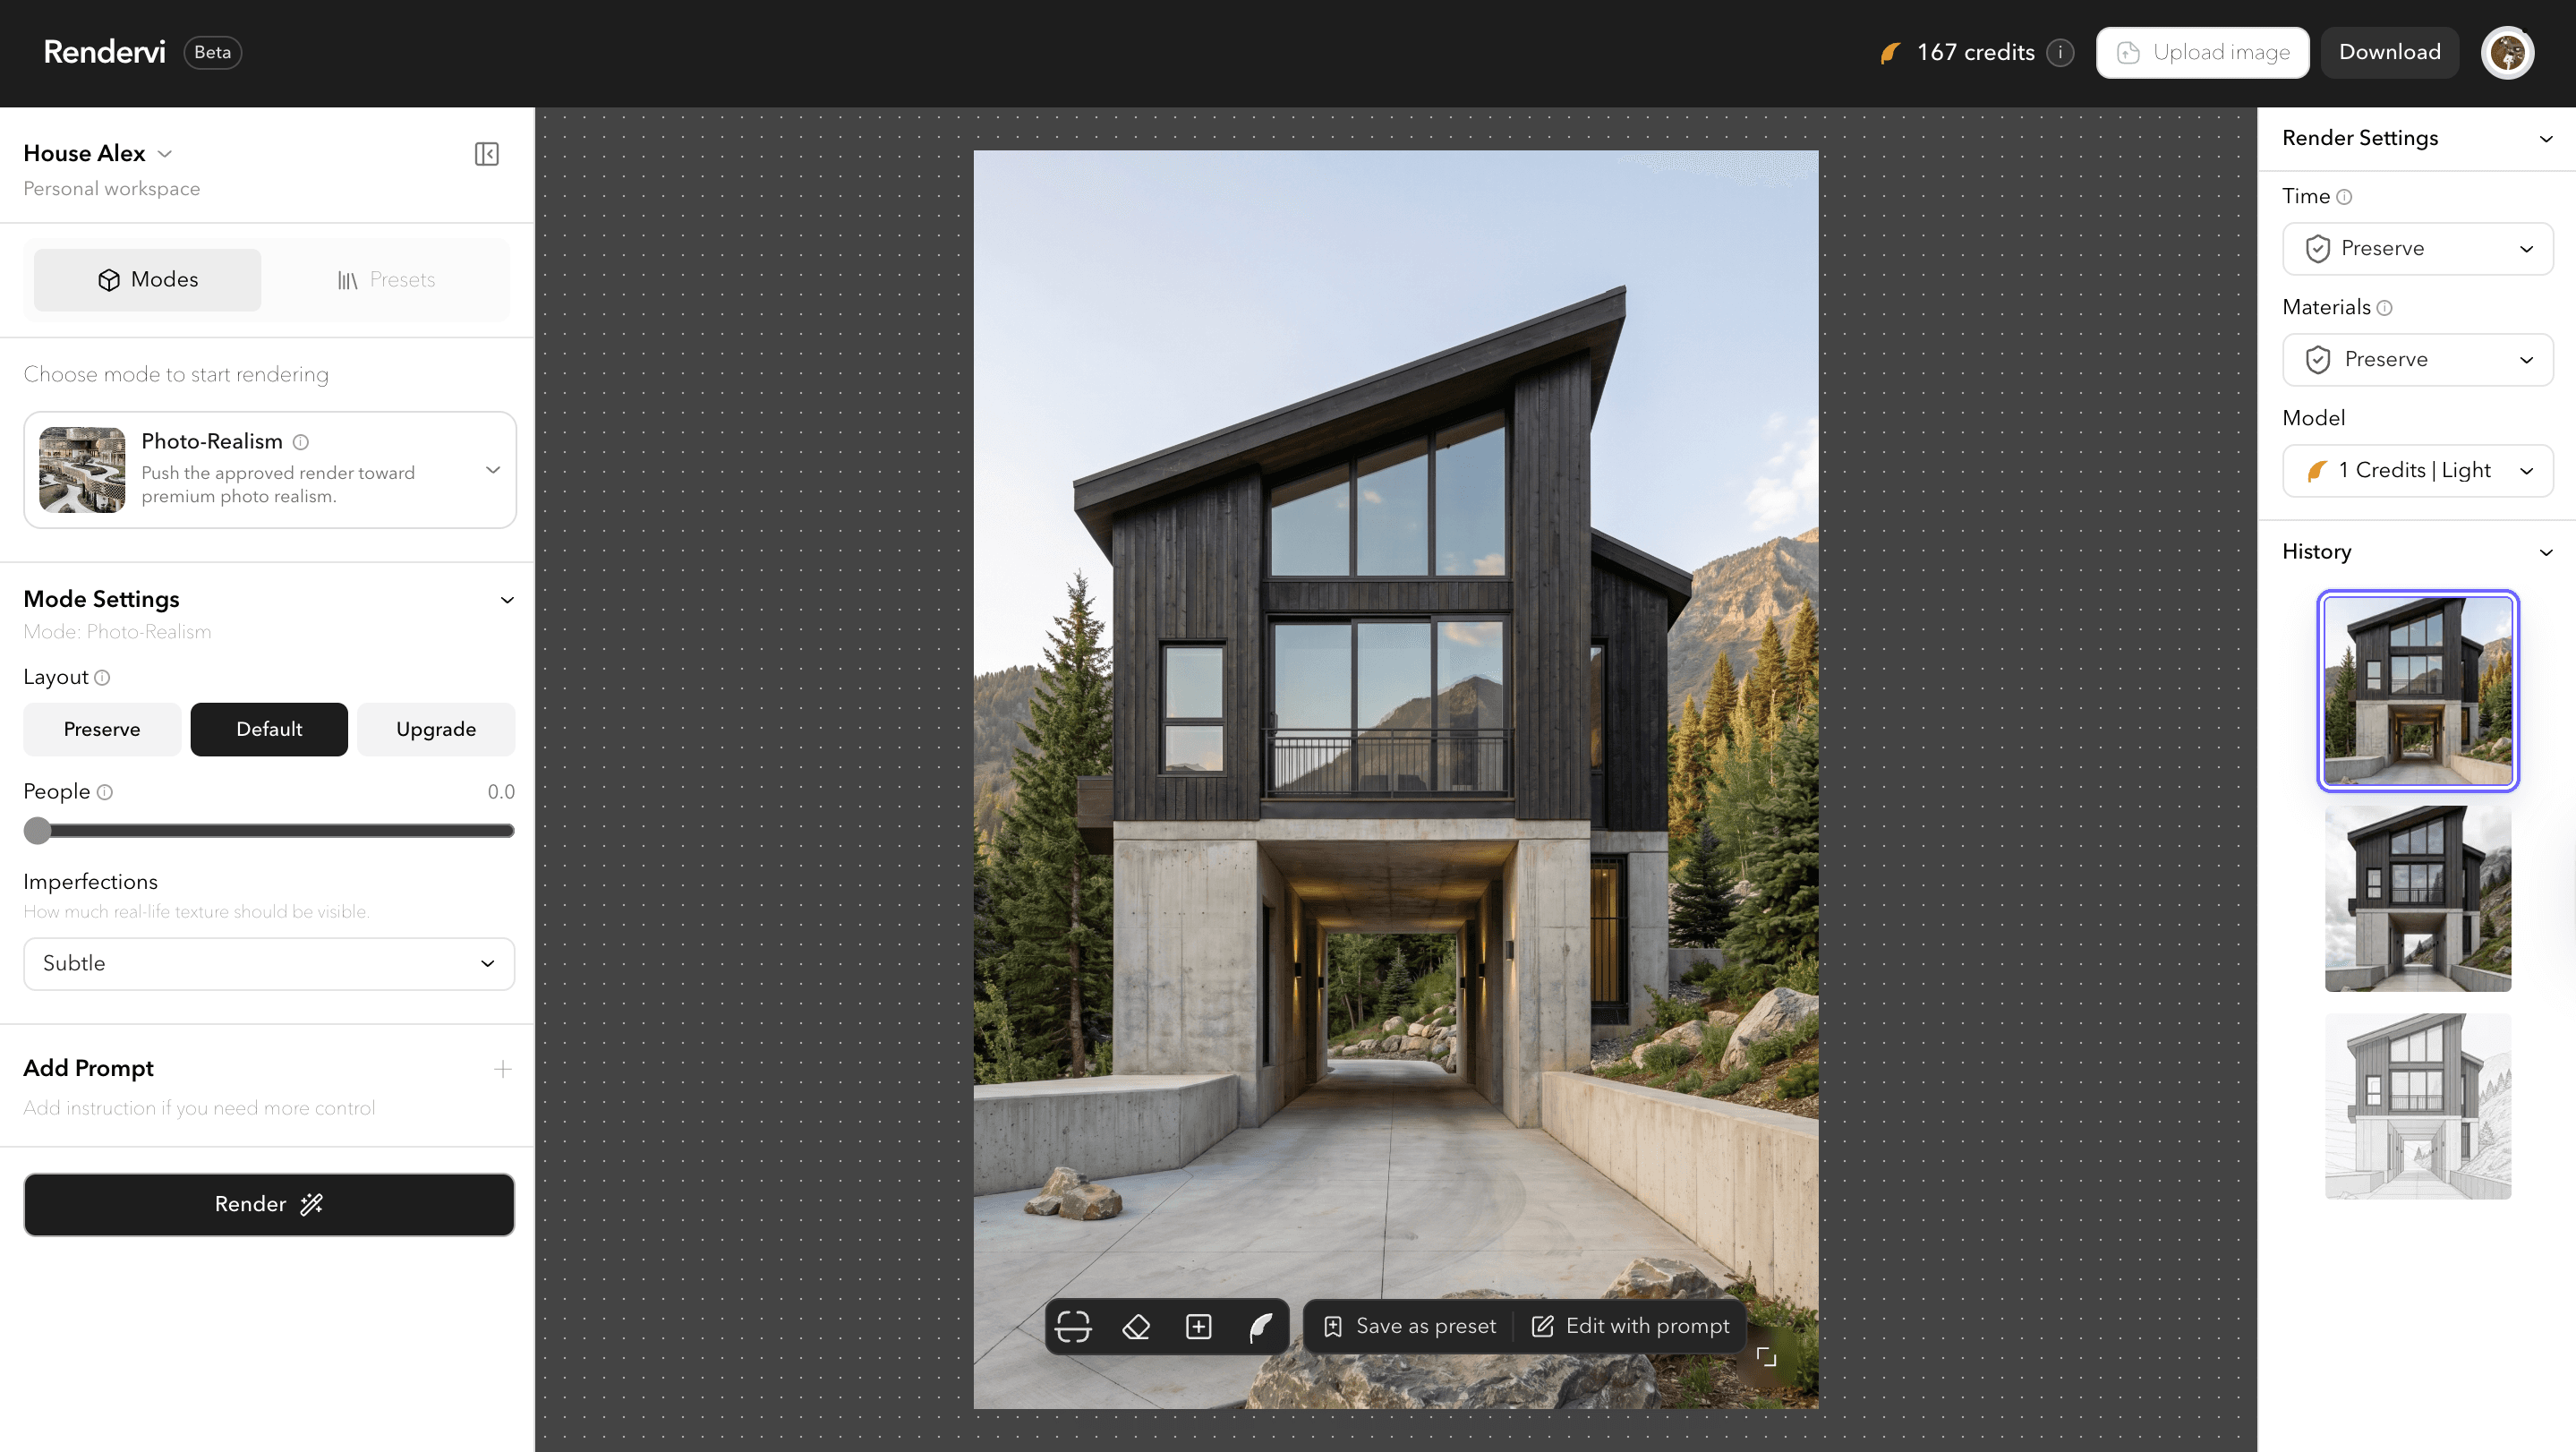
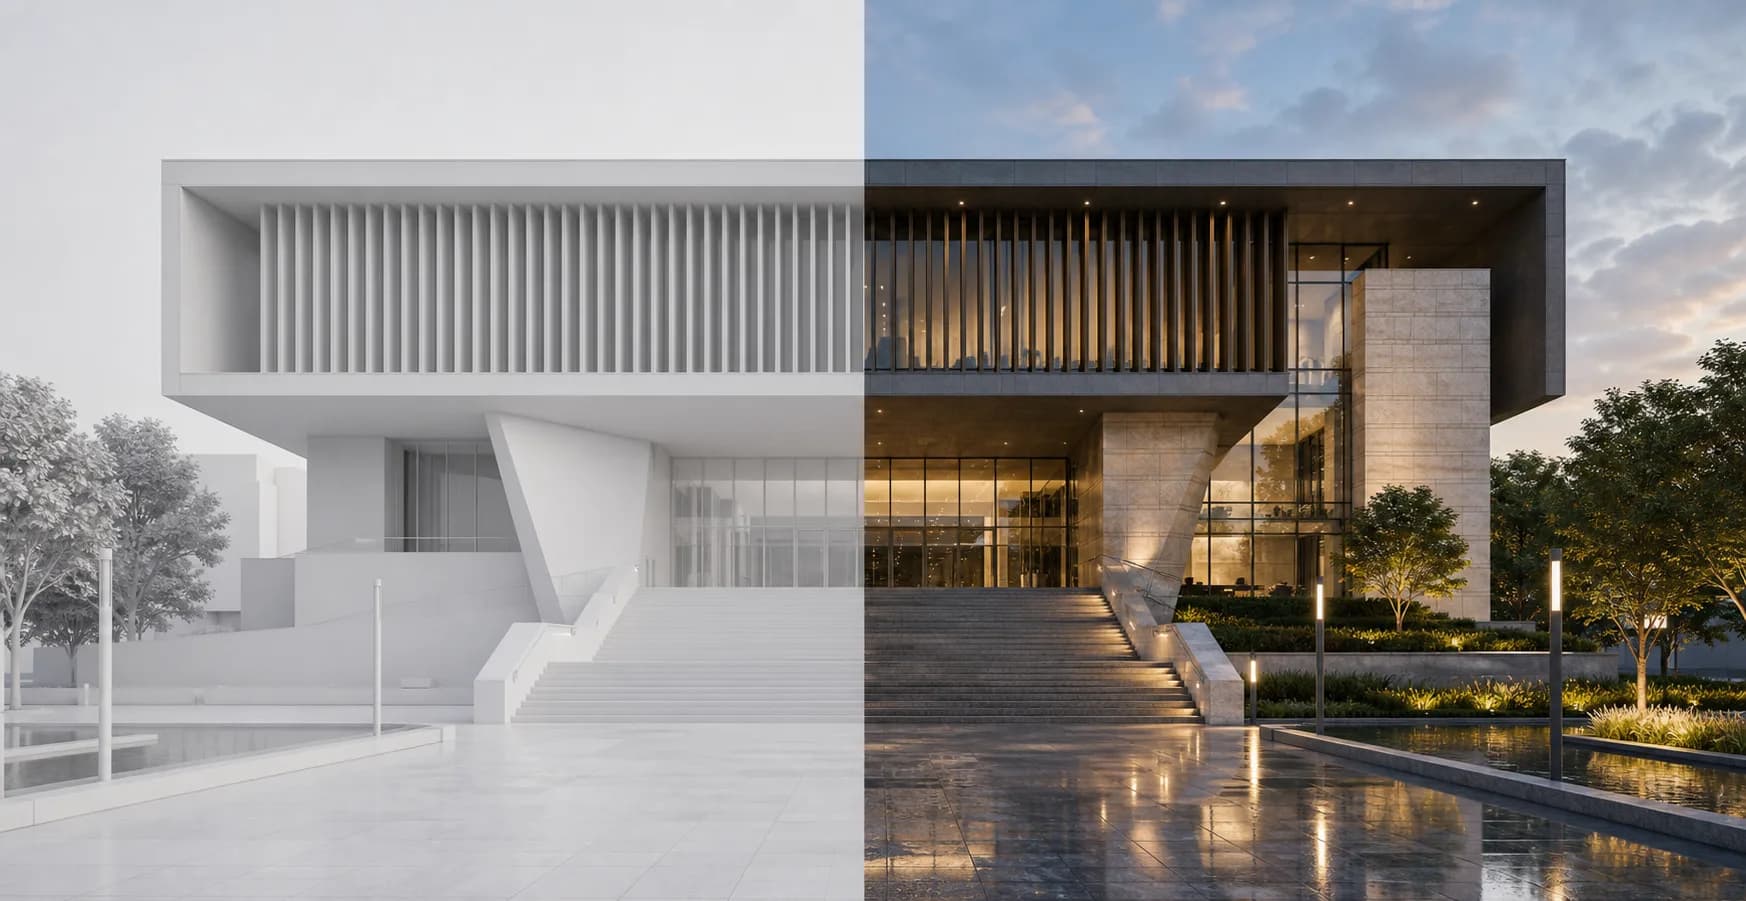
Open a Rendervi project, select Upload image in the top-right corner, and choose the exported PNG, JPEG, or screenshot. The image becomes the source view for the render, preserving its camera, massing, and main geometry.
Choose a mode, render, and refine
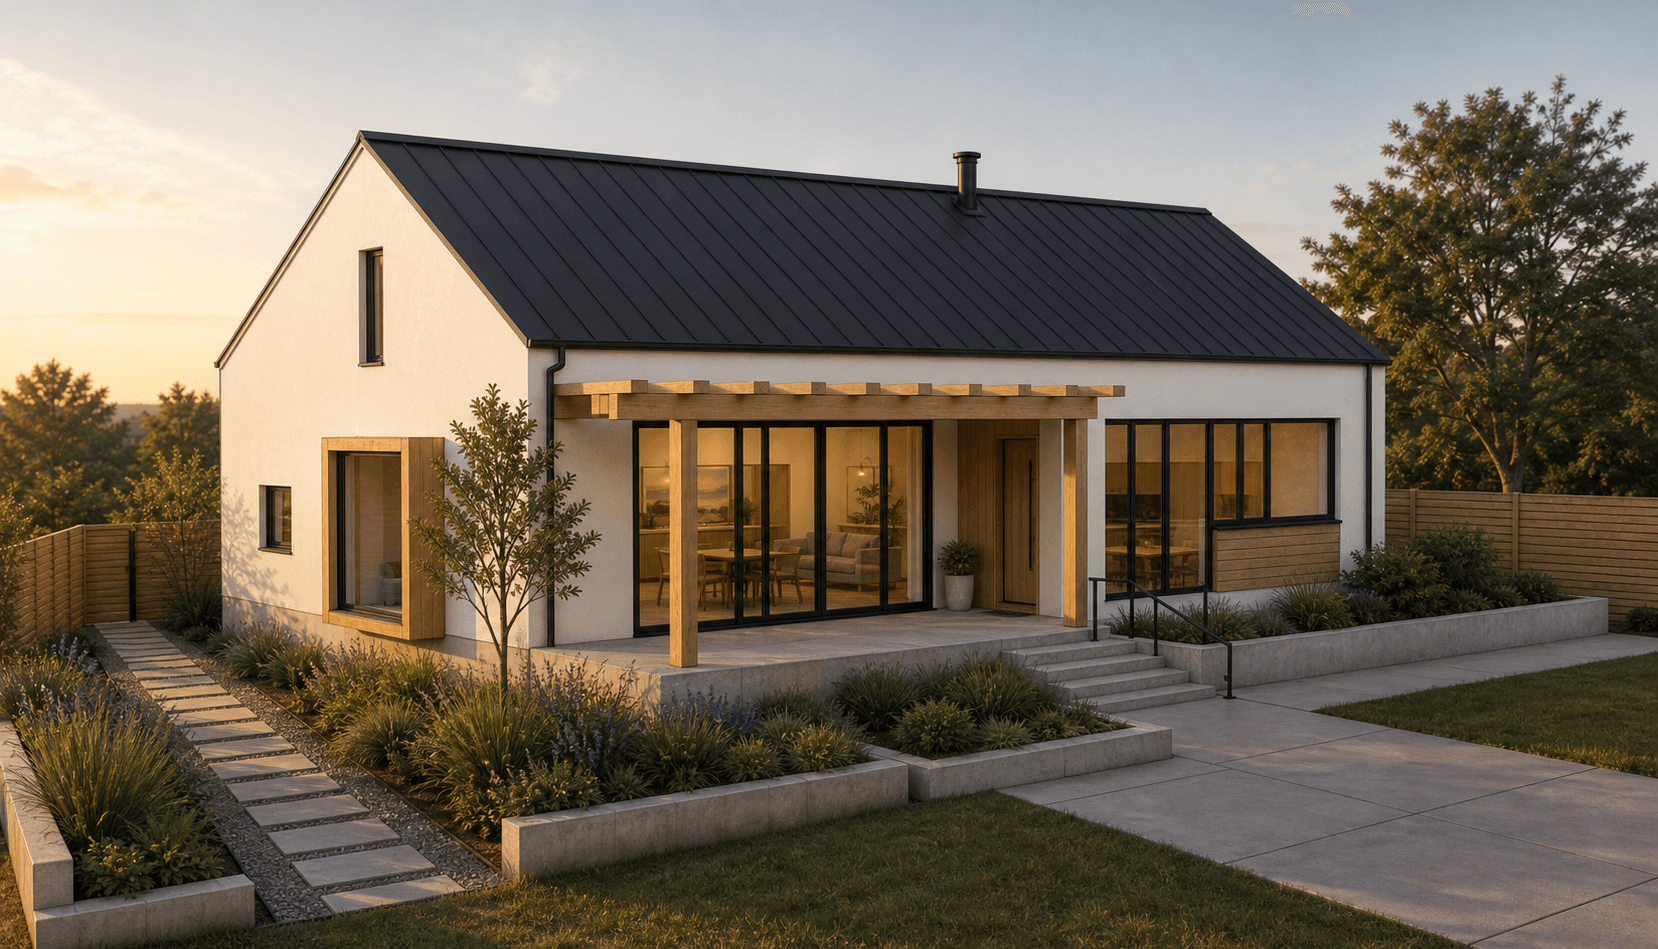
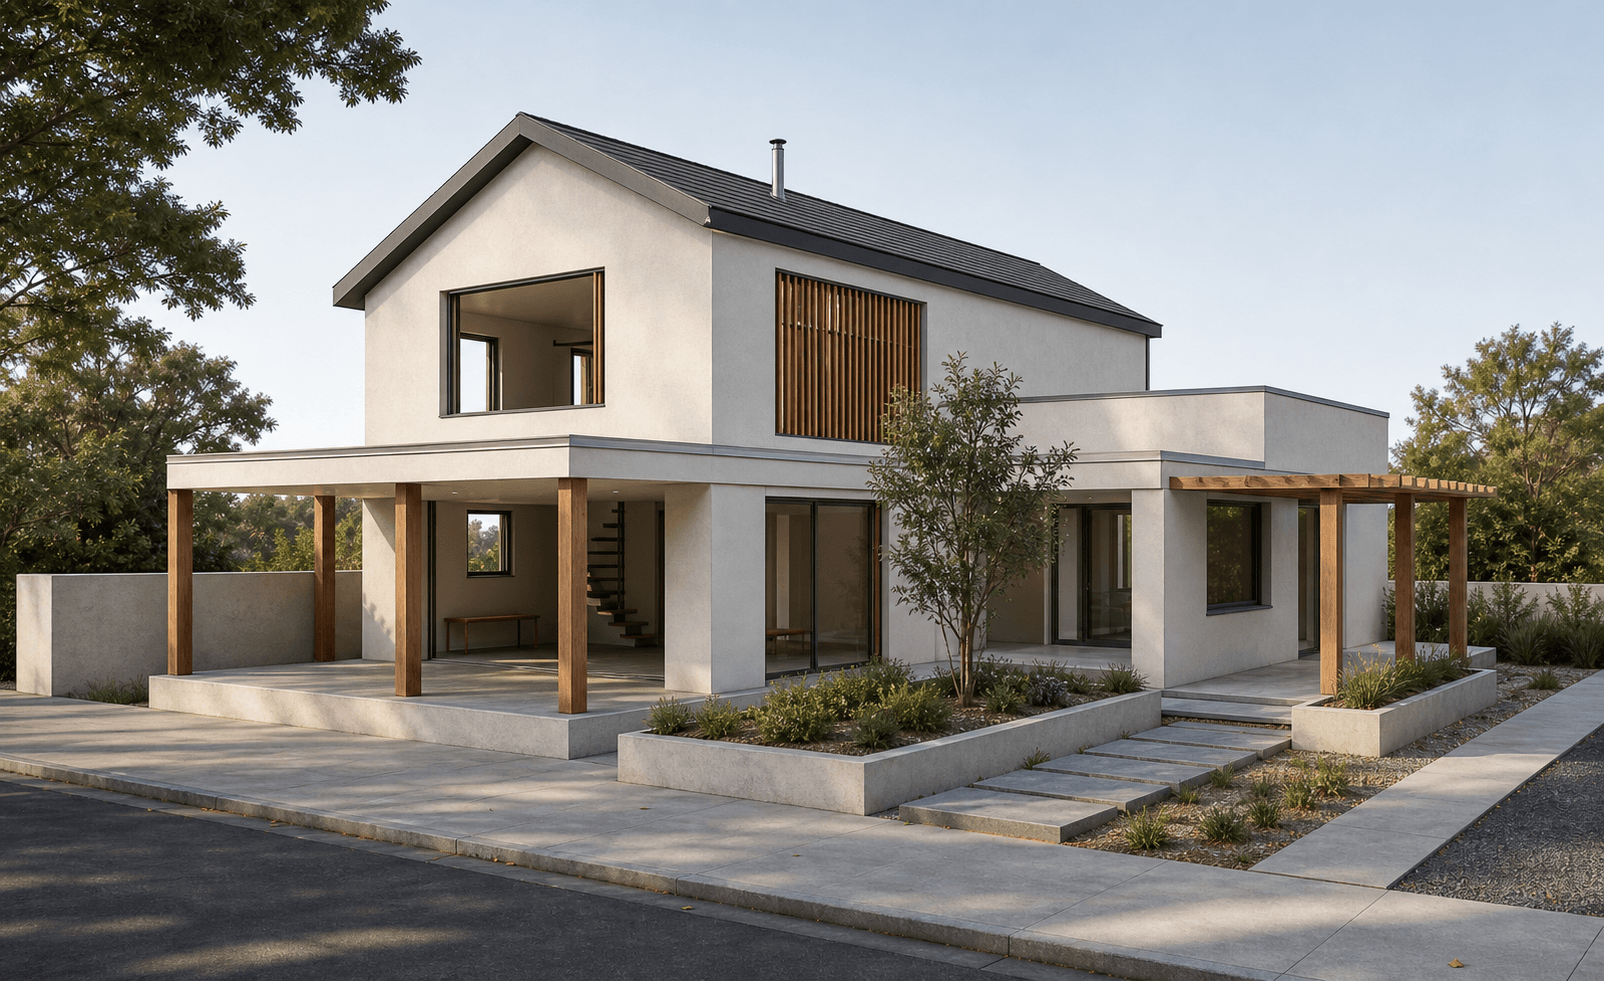
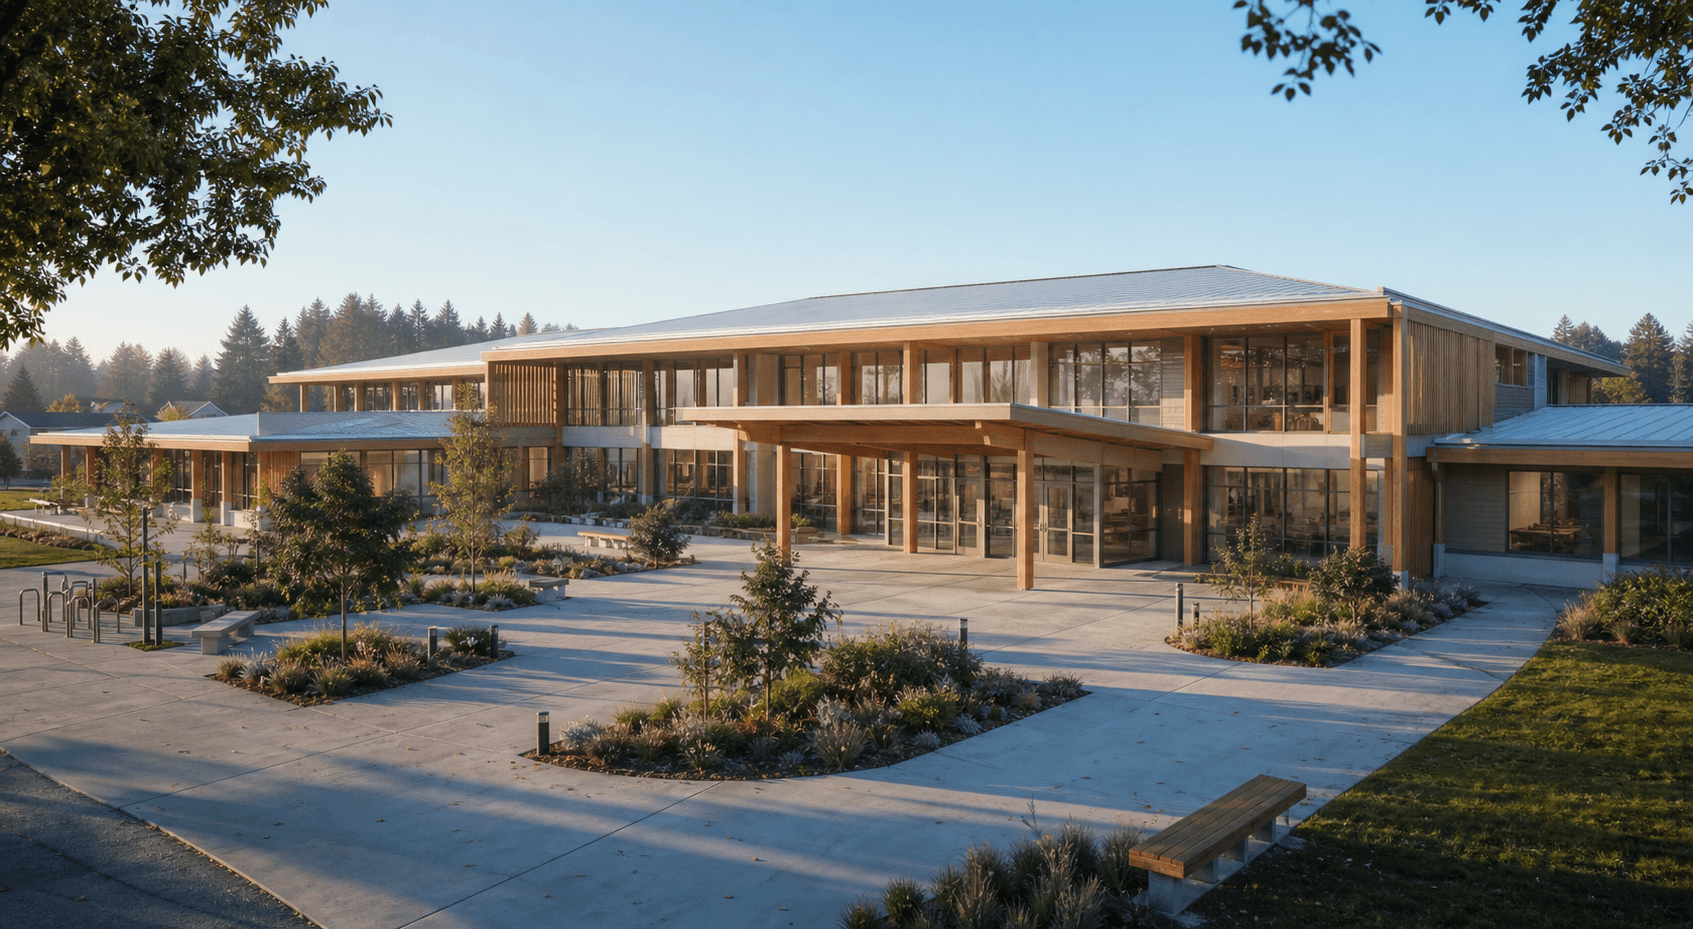
Start with Photo-Realism for a presentation-ready result. Keep layout preservation enabled when the Revit geometry must stay stable, then render and use the project history, material tools, or targeted edits to refine only what needs attention.