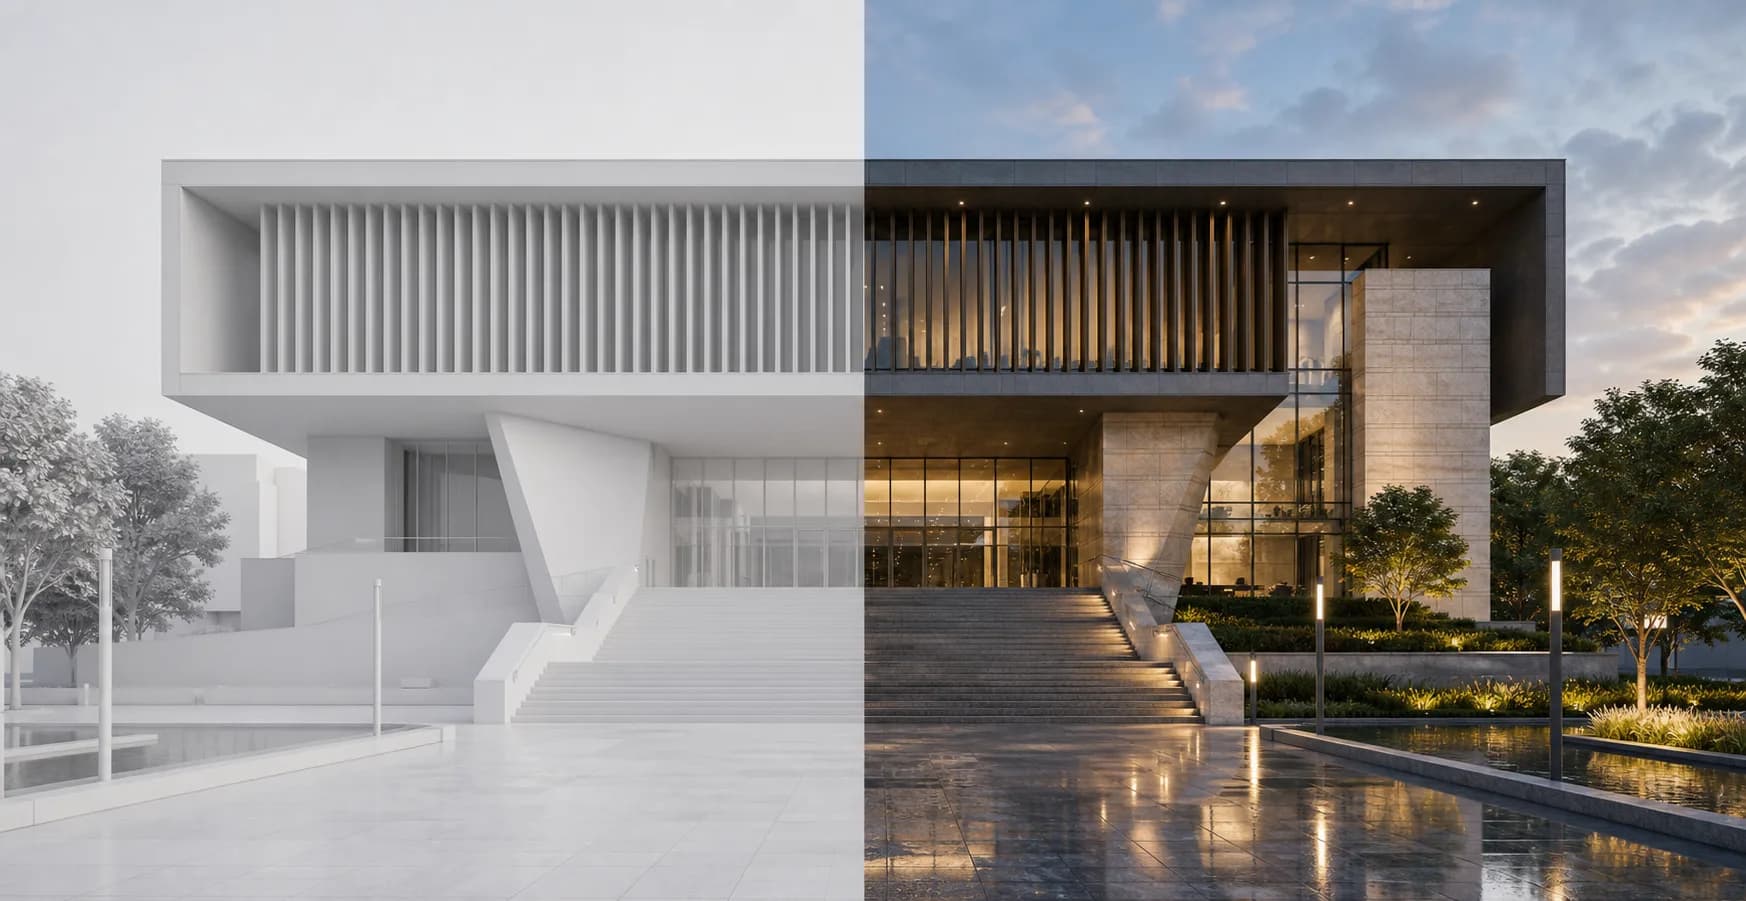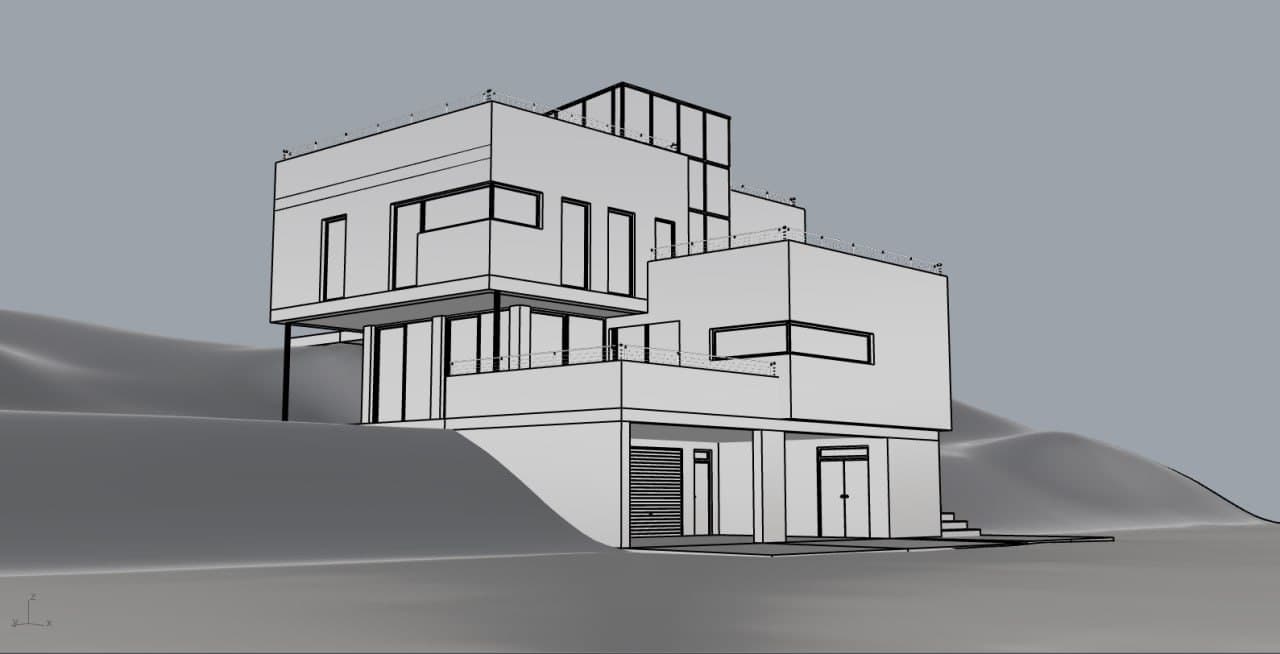
Start from a clean Grasshopper view
Export the model view, screenshot, or scene that already communicates the design clearly. The closer the input is to the view you want to present, the faster the result.
Grasshopper guide
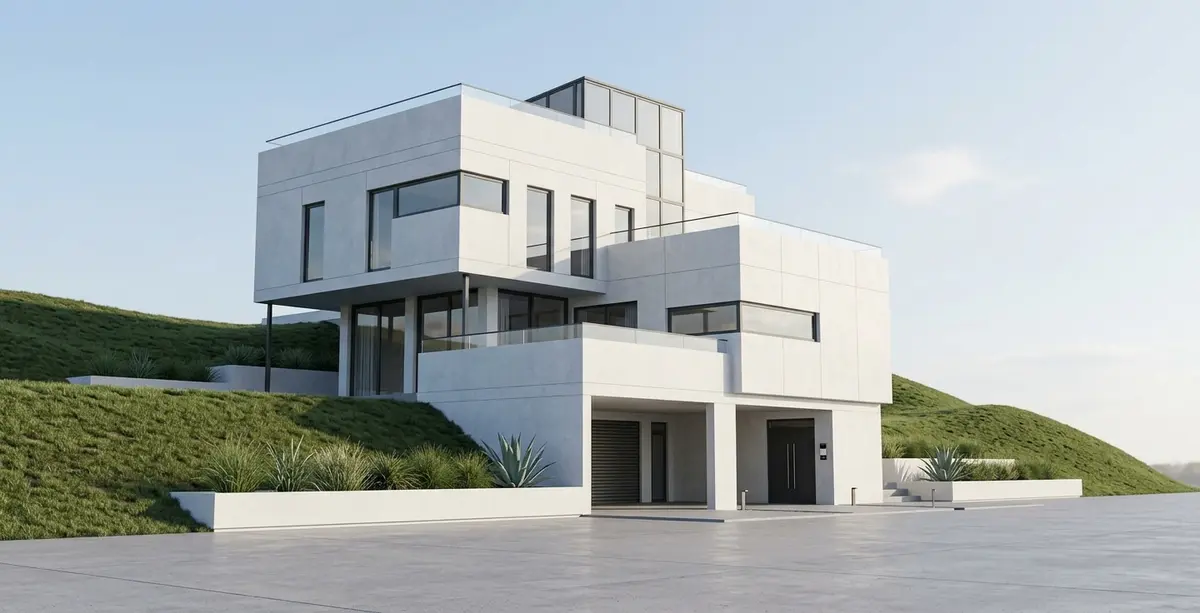
Start from a clean Grasshopper screenshot, viewport capture, or exported scene and turn it into a precise architectural render with modes, presets, and controlled edits in Rendervi.
Workflow
Explore how you can accelerate your Grasshopper workflow with Rendervi.
Export the model view, screenshot, or scene that already communicates the design clearly. The closer the input is to the view you want to present, the faster the result.
Use Rendervi modes to move from grasshopper viewport captures, parametric iterations, and geometry studies into a client-ready architectural render without managing long prompt chains.
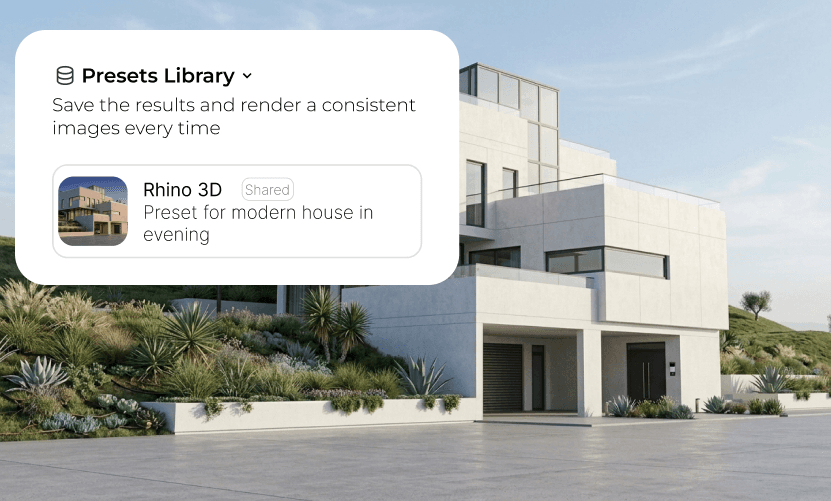
Once the environment and material direction look right, save them as presets so the next views in the project stay consistent.
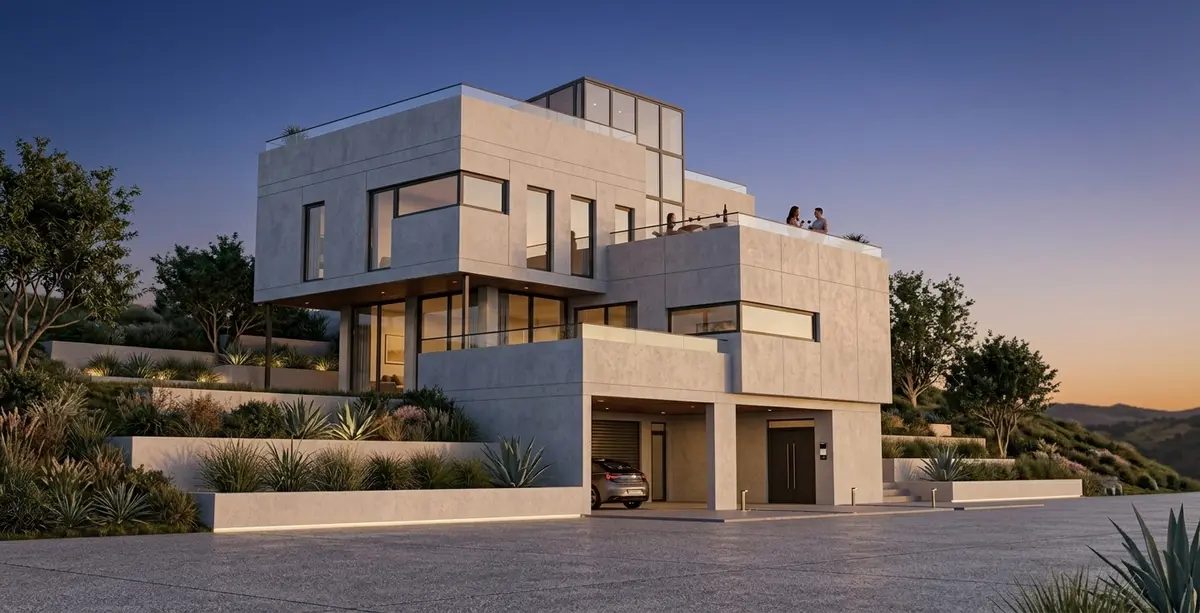
Use inpainting when you need to adjust a specific part of the image, keep the rest of the frame stable, and move faster through revisions.
AI-studio
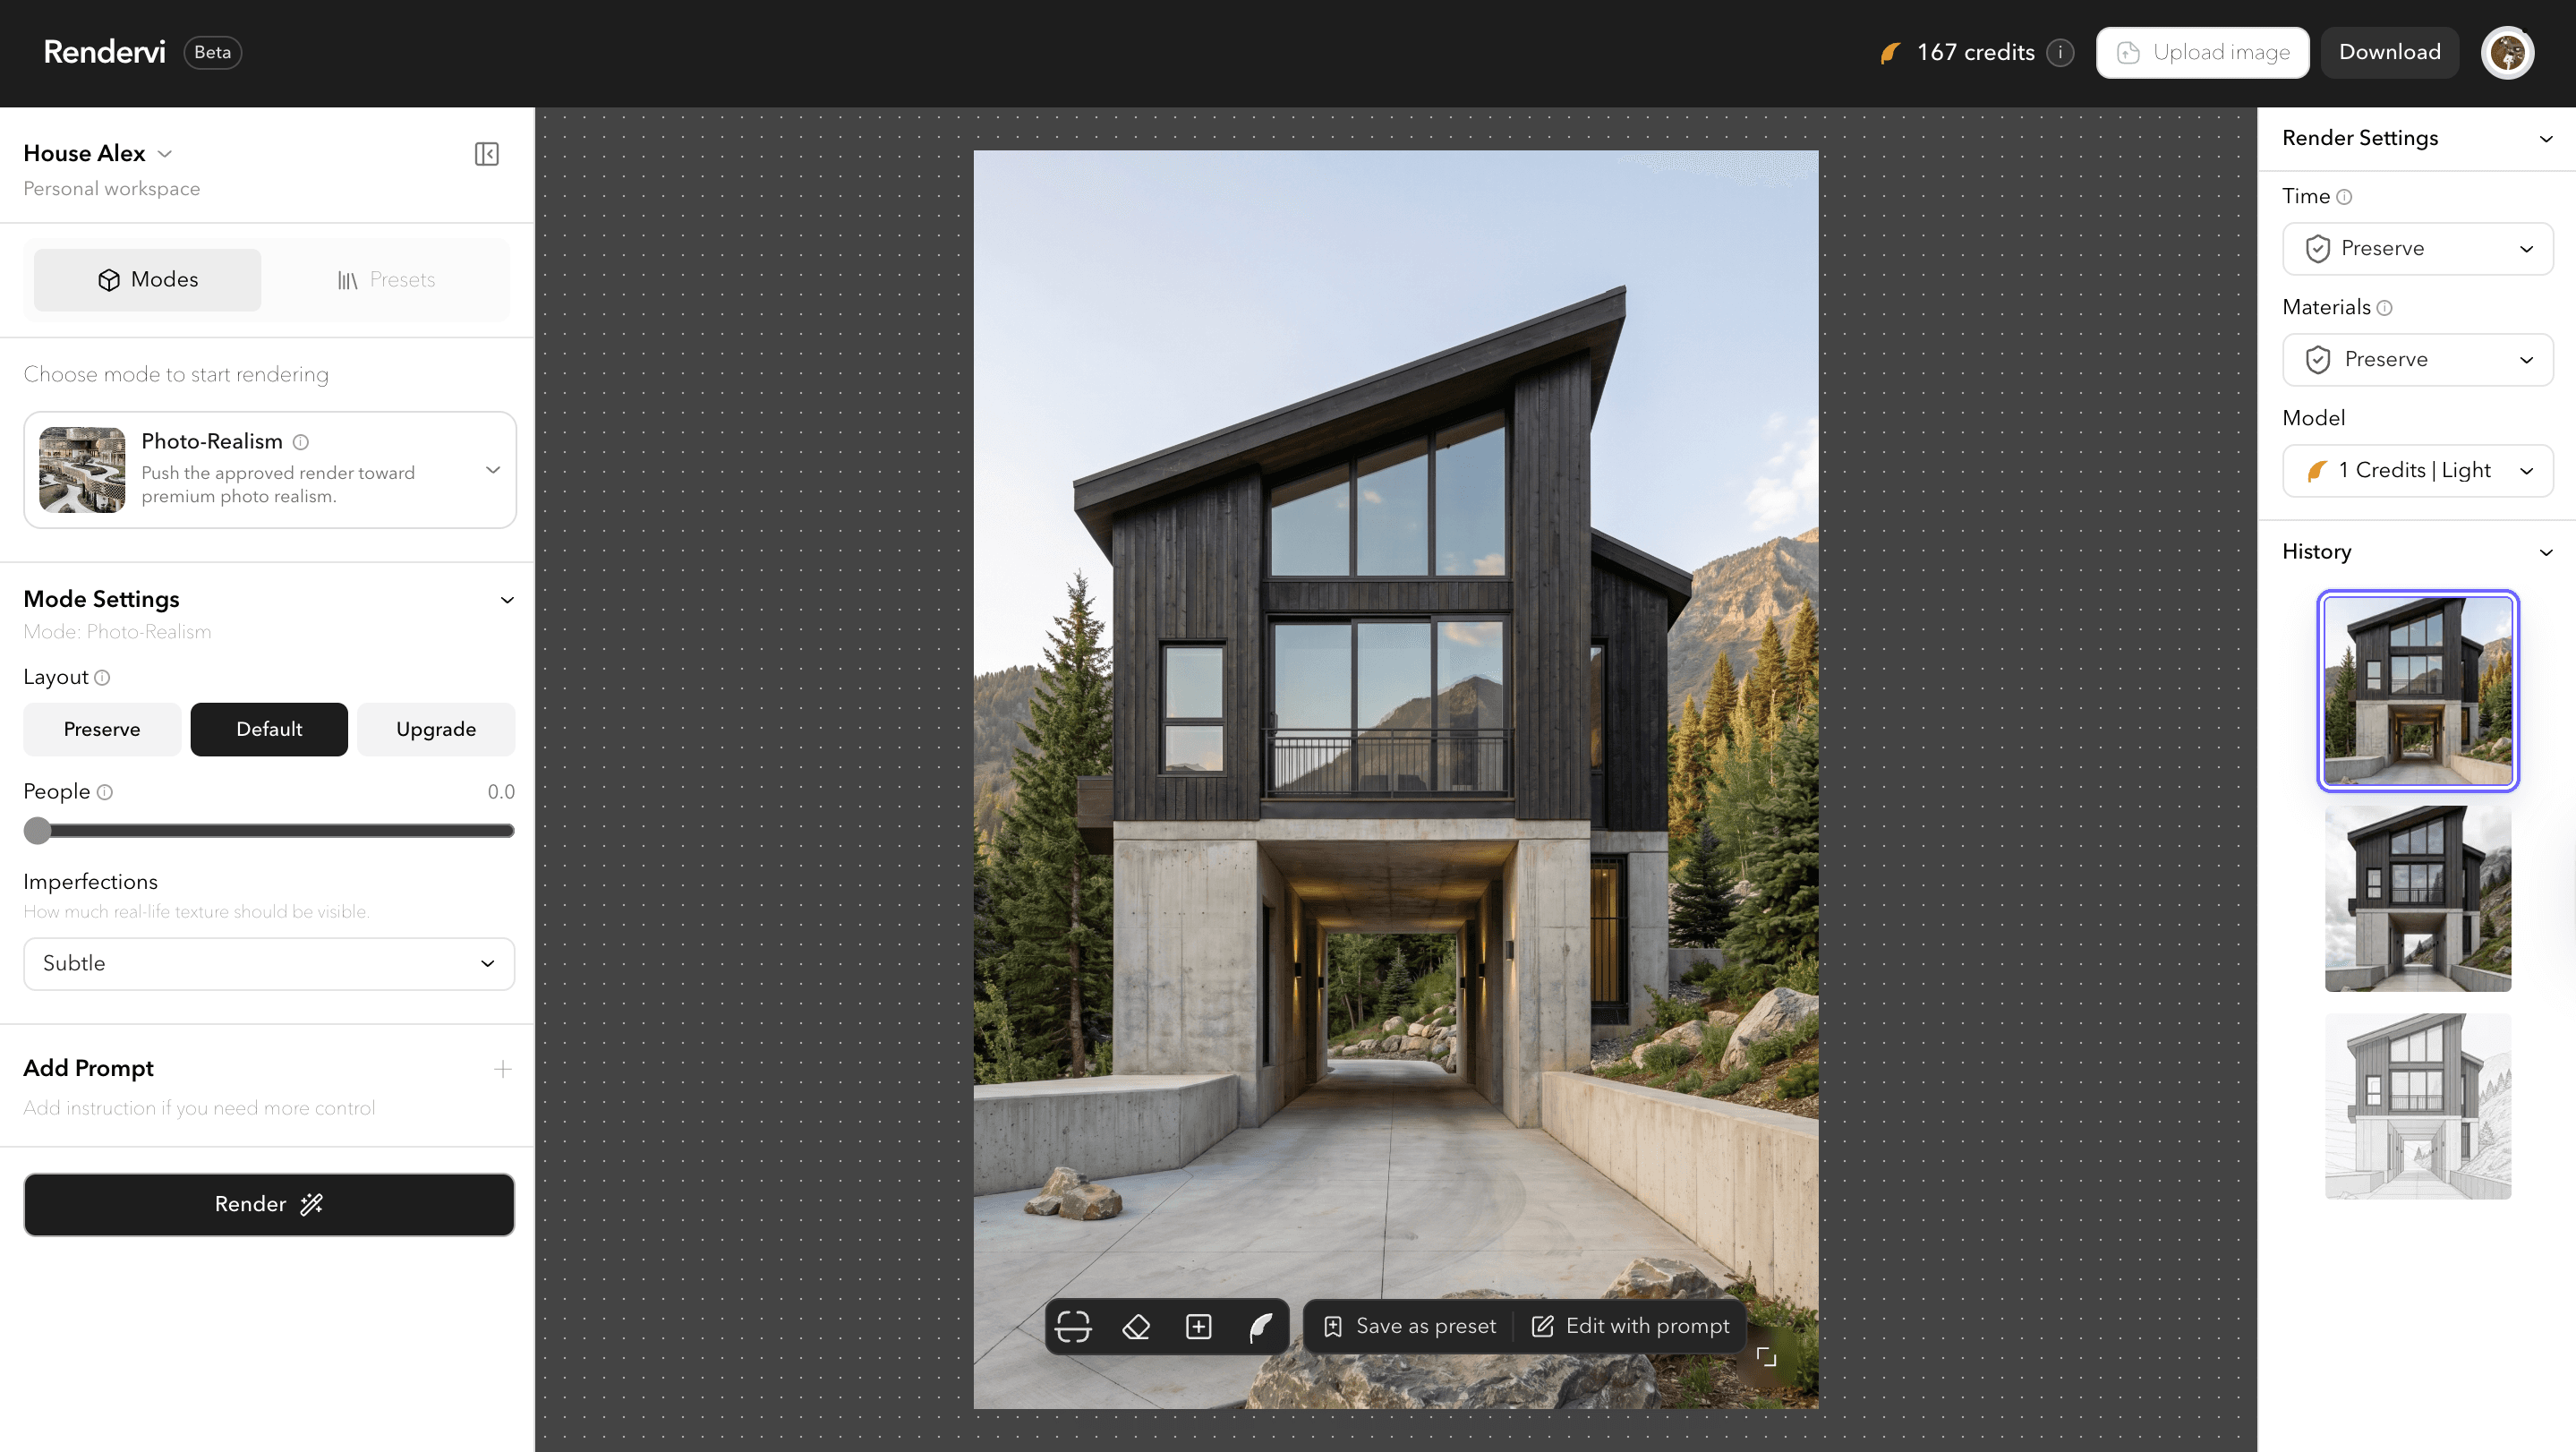
Stop relying on AI image tools that drift away from your design and create inconsistent results from one view to the next.
Studio is the place where we gather together all of the main tools you might need to create a great images with AI. From ideation to enhancement, with or without prompts - all creative tools in one page. With team access, project history and great user experience.
As alternative for a Studio we have a quick workflows that can help you do the job fast if you need it just one time.
FAQ
Still not sure? You will get 12 free credits after sign up, so you can try the studio for yourself at no cost.
Yes. You can start from grasshopper viewport captures, parametric iterations, and geometry studies and use Rendervi to turn that asset into a stronger architectural render with more atmosphere, material clarity, and presentation value.
The best starting point is usually the view that already communicates the design clearly: option-heavy geometry explorations, design iterations, and review snapshots. That keeps the camera and design direction grounded from the start.
Yes. After the initial render, you can use Rendervi workflows for material changes, daylight adjustments, and overall render enhancement without throwing away the same view.
Get access
Rendervi is designed for studios, designers, and marketing teams that need a faster path from a raw model to a strong, precise final image. Save time and focus on what matters most: design.