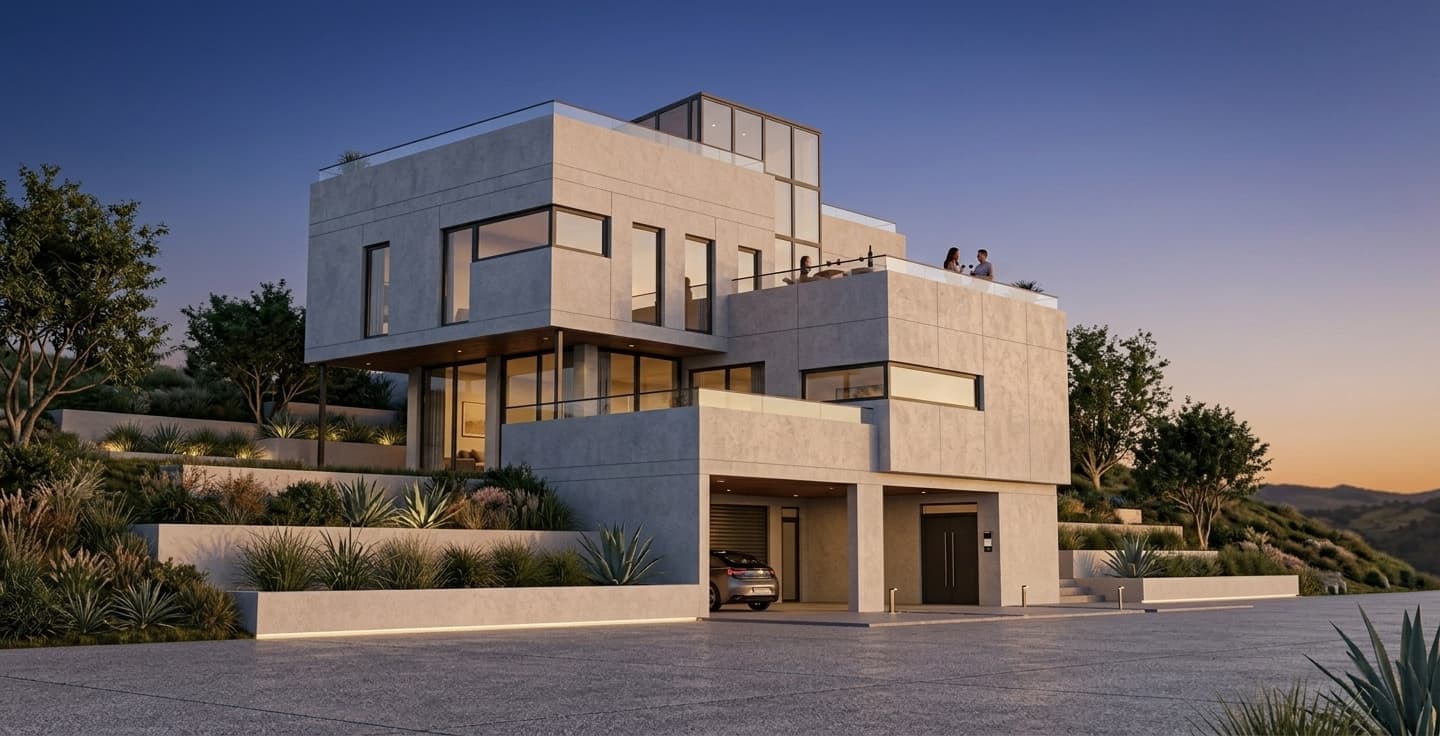
Architecture presentations rarely rely on one hero image. A facade study, lobby view, courtyard angle, and interior detail all need to feel like the same project. The problem with many AI image tools is that every new angle can drift: glazing changes, facade rhythm softens, vegetation becomes a different season, or the interior material palette no longer matches the approved direction.
For architects and interior designers, consistency is not just style. It protects design intent. If a client is reviewing a timber ceiling, limestone floor, bronze frame, or recessed cove light, those elements need to remain stable from one view to the next.
Why consistent AI renders are hard
In tools like Midjourney or generic image models such as Nano Banana, a team often has to write a detailed prompt for every view. You describe the building, the material palette, the weather, the camera, the lighting, the entourage, and the mood again. Even with references, the output is probabilistic. A prompt can get close, but it does not guarantee the same architecture details across a full presentation set.
That workflow is useful for early mood exploration. It is less reliable when an AEC team already has a massing model, BIM export, SketchUp scene, Rhino viewport, or interior concept that must stay recognizable across multiple renders.
The practical workflow: use one approved render as the source of truth
Rendervi presets are built for this moment. A preset saves the visual direction of an approved render, then uses it on future views. The new camera angle still comes from your uploaded image, so the composition and geometry stay anchored to the project, while the preset carries the approved material language and atmosphere.
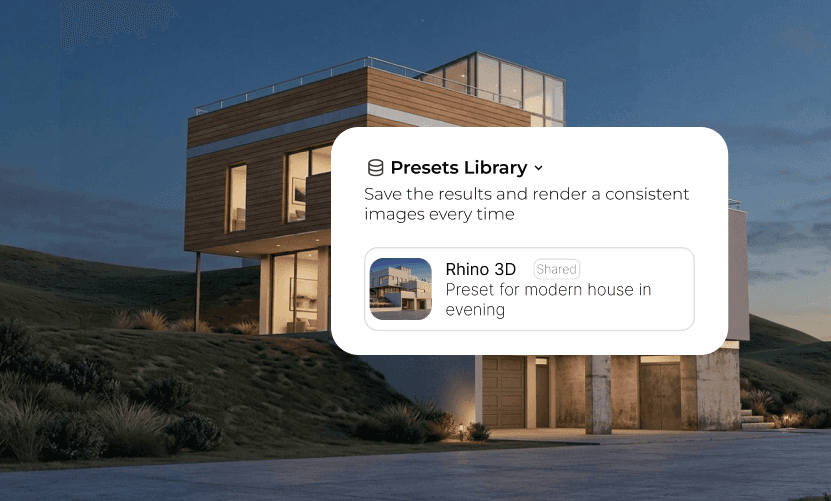
Step by step: how Rendervi keeps views consistent
1. Upload a clean source view
Start from a viewport, clay render, screenshot, or exported image from Revit, SketchUp, Rhino, Archicad, or another modeling tool. The cleaner the source view, the easier it is for the render to preserve massing, openings, proportions, and interior layout.
2. Generate the first render
Render the first angle until the project language is right. This means checking the facade material, glazing tone, landscape density, furniture style, lighting mood, and the level of realism you want for the design phase.
3. Refine important details before saving
If a surface, object, or environment detail needs adjustment, edit it before you save the preset. For example, you might change a wall finish, replace planting, soften the sky, correct a floor material, or remove an element that distracts from the architecture.
4. Save the approved render as a preset
Once the image feels right, save it as a preset. The preset becomes a reusable visual recipe for the project: materials, atmosphere, lighting, site cues, entourage strategy, and the overall finish level.
5. Apply the preset to the next angle
Upload another view of the same project and render it with the saved preset. Rendervi uses the new input for the camera and architectural structure, while the preset helps the output match the approved direction.
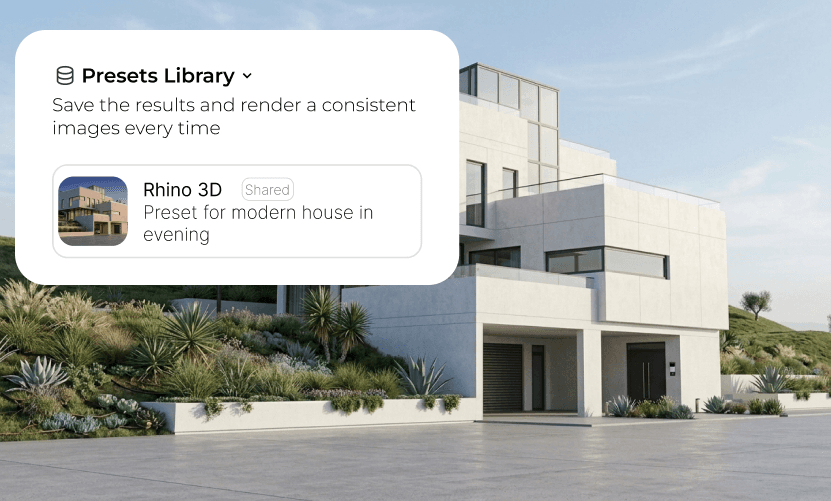
What a preset should keep consistent
A good architectural render set should not feel copied, but it should feel coherent. Across the views, the viewer should recognize the same design decisions: facade rhythm, primary materials, interior palette, lighting temperature, landscape treatment, entourage density, and post-production style.
This is especially useful for client presentations, planning submissions, investor decks, real estate marketing images, and internal option studies where several angles need to support one design story.
When this is better than prompting every view
Prompting every image separately can work when the goal is a loose concept or a single atmospheric frame. For architectural production, the faster path is usually to approve one strong render, save that direction, and reuse it across the next views. The team spends less time rewriting prompts and more time reviewing design.
Prompt-only workflow
Rebuild the description for each angle, check for visual drift, then regenerate until materials and atmosphere look close enough.
Preset workflow
Approve one render direction, save it, and apply the same project language to new angles from your model or source images.
Common questions
Can AI keep exact architecture details from every angle?
AI rendering works best when each new angle starts from a real source view of the project. The input image should define the geometry, camera, openings, and layout. The preset then helps the result keep the same visual direction.
Do presets replace a 3D render engine?
No. Presets are a faster visualization layer for project images. They are useful when you need strong, consistent visuals without rebuilding materials, lighting, entourage, and post-production from scratch for every angle.
What should I prepare before rendering multiple views?
Prepare clean exports from your model, keep camera angles intentional, and approve the first render before saving a preset. That gives the rest of the image set a clear visual reference.
Render the next angle without restarting the visual direction
Use Rendervi presets when a project needs several AI architectural renders that preserve design intent, material language, and atmosphere across views.
Try presets